Use large text, simple settings, trusted contacts, and only the apps a senior truly needs.
Learning how to set up an iPad for a senior is about more than turning it on. The best setup reduces clutter, improves comfort, protects personal data, and makes everyday tasks feel easy. This guide explains each step in plain language, with practical tips for vision, hearing, memory, movement, safety, and family support.
Start With the Right iPad Setup Plan
Before opening the box, talk with the senior about how they want to use the iPad. A person who mainly wants video calls needs a different setup from someone who reads news, manages medication reminders, or watches movies.
A short conversation can prevent many problems later. Ask what they use now, what feels hard, and who should help if something goes wrong.
Think about these daily needs:
• Video calls with family
• Reading books, emails, or news
• Watching shows or listening to music
• Taking photos and viewing family pictures
• Checking appointments and reminders
• Using banking, health, or government services
• Playing games or doing puzzles
• Staying in touch during travel or emergencies
Choose a screen size that feels comfortable. A larger iPad screen may help someone with low vision, while a smaller model may be easier to hold. Wi-Fi is enough for home use, but a cellular iPad can help someone who travels or lives where Wi-Fi is not always available.
When deciding how to set up an iPad for a senior, avoid buying more storage or features than they need. A simple device with enough space for apps, photos, and updates is often better than a complicated model with functions they will never use.

Charge and Turn On the iPad
Place the iPad near a comfortable chair, bed, or kitchen table. The charging cable should reach the usual sitting area without crossing a walkway. Falls are a real concern, so secure loose cables against a wall or furniture.
Connect the charger, then press and hold the top button until the Apple logo appears. The first startup may take a few minutes.
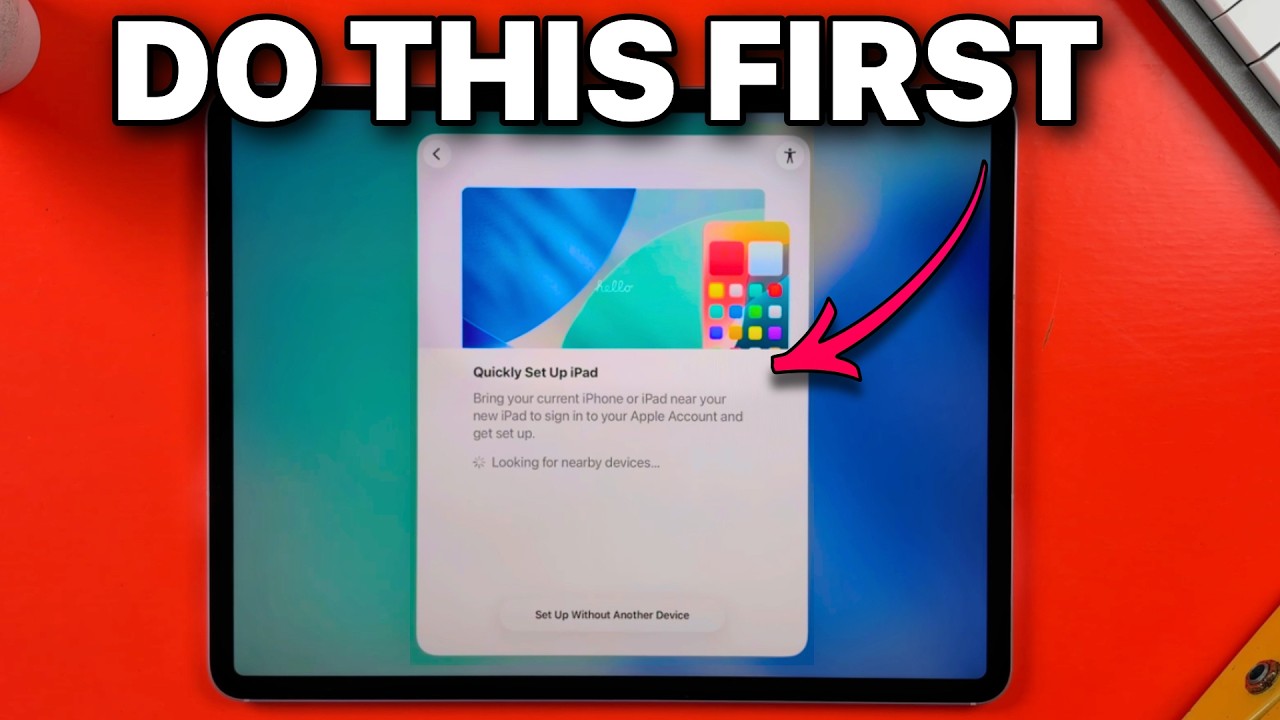
The iPad will guide you through setup. You will usually choose:
• Language
• Country or region
• Wi-Fi network
• Apple Account sign-in
• Passcode
• Privacy settings
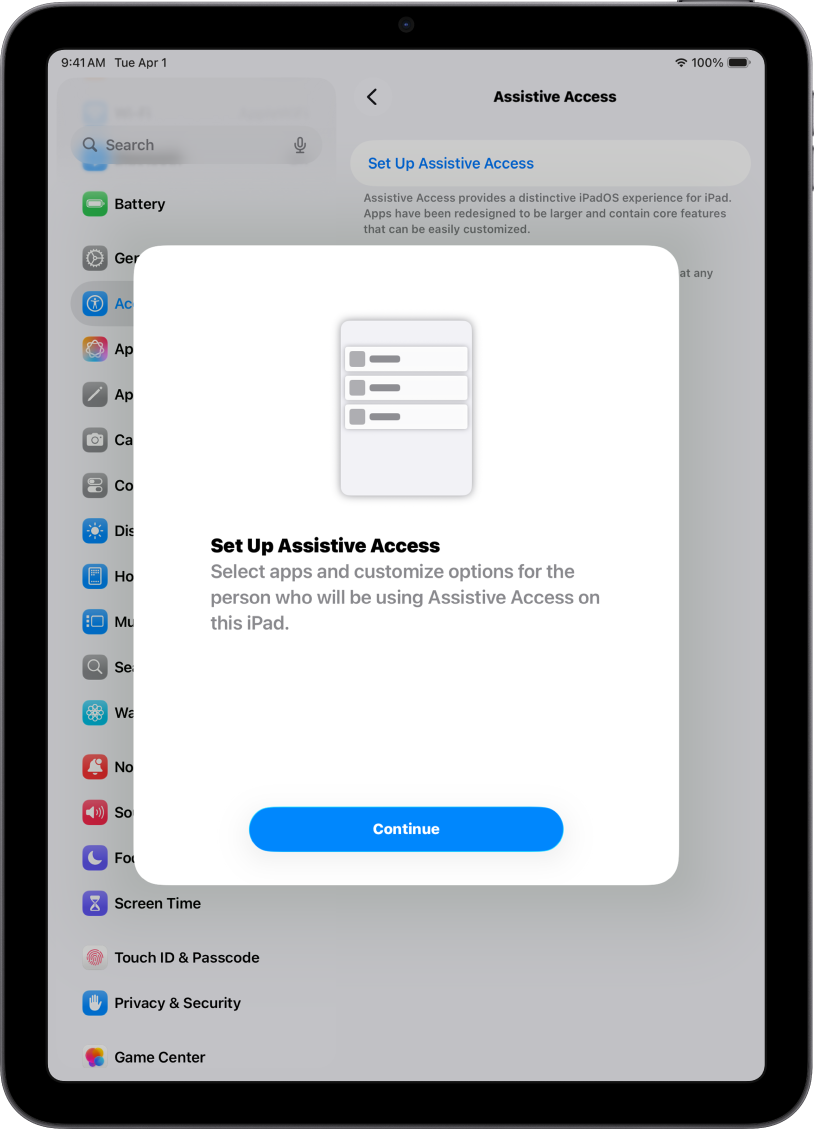
• Accessibility features
Use a Wi-Fi network that the senior knows and trusts. Avoid setting up important accounts over public Wi-Fi, such as the network at a coffee shop or hotel.
Keep the charging cable in one fixed place. Many seniors find it easier when charging becomes part of a routine, such as charging every night after dinner. A bright charging dock or a small label saying “iPad charger” can also help.

Create or Confirm an Apple Account
An Apple Account is needed for many iPad services. It helps manage App Store downloads, iCloud backups, Find My, messages, and device security.
If the senior already has an Apple Account, use that account rather than creating a second one. Multiple accounts can cause confusion. Purchased apps, photos, passwords, and subscriptions may end up split between accounts.
If you create a new account, record the details in a safe place. Do not place the password on a sticky note attached to the iPad.
Use a strong password that the senior can remember. Turn on two-factor authentication when possible. This adds a second safety check when someone signs in from a new device.
A trusted family member may help with account recovery, but the senior should understand who has access. Never share passwords casually through text messages or email. Apple will not ask for an account password through an unexpected phone call.
When learning how to set up an iPad for a senior, account recovery deserves special attention. A forgotten password can make a simple device feel broken, even when the iPad itself works well.

Set a Simple, Memorable Passcode
The passcode protects the iPad if it is lost. It also helps protect private photos, messages, health information, and saved passwords.
Choose a passcode that is not easy for strangers to guess. Avoid birthdays, street numbers, or repeated numbers. At the same time, it should be easy for the senior to remember.
You can adjust passcode settings in:
-
Open Settings.
-
Tap Face ID & Passcode or Touch ID & Passcode.
-
Enter the current passcode.
-
Review the options under Require Passcode.
Face ID or Touch ID can make unlocking easier. Still, the senior must know the passcode because the iPad may request it after a restart or after several hours.
If the senior has memory loss, ask a trusted caregiver about the safest plan. Do not remove all security without considering the risk. A lost iPad with no passcode can expose personal information.

Adjust Display and Text for Comfortable Reading
Large, clear text is one of the most useful changes when you set up an iPad for a senior. Do not assume the default text size will be comfortable.
Open Settings, then choose Display & Brightness. Adjust these options:
• Text Size: Increase the size until reading feels easy.
• Bold Text: Turn it on if regular text looks thin.
• Display Zoom: Choose the larger view if icons and controls are hard to see.
• Brightness: Set a level that works in the main room.
• Night Shift: Use it in the evening if warmer colors feel easier on the eyes.
You can also open Settings, choose Accessibility, and review Display & Text Size. Options such as Larger Text, Button Shapes, Increase Contrast, and Reduce Transparency may improve clarity.
Avoid making everything extremely large at once. Very large text can cause buttons to move off the screen or make websites harder to use. Increase one setting at a time, then test common apps.
A good test is to ask the senior to read a message, open Settings, and find the back button. If they can do those tasks without squinting, the display may be close to right.
Improve Touch Control and Physical Comfort
Some seniors have arthritis, tremors, or reduced hand strength. These issues can make small buttons and quick gestures frustrating.
In Settings, open Accessibility and review Touch. Useful options may include:
• Touch Accommodations: Adjust how the iPad responds to taps and swipes.
• Hold Duration: Give the user more time to touch an item.
• Ignore Repeat: Reduce accidental extra taps.
• AssistiveTouch: Add an on-screen menu for common actions.
A sturdy case can improve grip. Choose one with a raised edge and a stand. A stand is helpful for video calls because the senior does not need to hold the iPad for a long time.
Teach simple gestures slowly:
• Tap once to select something.
• Swipe up to return to the Home Screen on newer iPads.
• Swipe down from the top right to open Control Center on many newer models.
• Pinch with two fingers to zoom in or out.
• Press and hold to open more options.
Gestures can vary by iPad model and software version. Practice with a familiar photo app before expecting the senior to use gestures in an important app.
One practical lesson from helping older adults with technology is that fewer gestures usually mean fewer mistakes. Keep the Home Screen simple and add a physical stand whenever possible.
Set Up Hearing and Audio Options
Audio settings matter for calls, videos, alerts, and spoken instructions. Start by setting a comfortable volume and testing it from the senior’s usual chair.
Go to Settings, then Accessibility, and review Audio & Visual. Depending on the model, useful settings may include:
• Headphone Accommodations
• Balance
• Mono Audio
• Background Sounds
If the senior uses hearing aids, check whether the hearing aids support Bluetooth or Made for iPhone and iPad features. Pair them in Bluetooth settings and test both a video and a phone or FaceTime call.
Turn on subtitles for video services when helpful. Many seniors understand speech more easily when they can both hear and read the words.
Use a clear ringtone and alert sound. Avoid setting every app to send a loud notification. Too many alerts can create stress and make important messages harder to notice.
For people with significant hearing loss, an audiologist can give better advice than a general device setup guide. Hearing needs vary, and the best setting depends on the person and their hearing equipment.
Make the Home Screen Easy to Understand
A crowded Home Screen can feel like a messy kitchen drawer. The senior may know the item they want is there, but finding it takes too much effort.
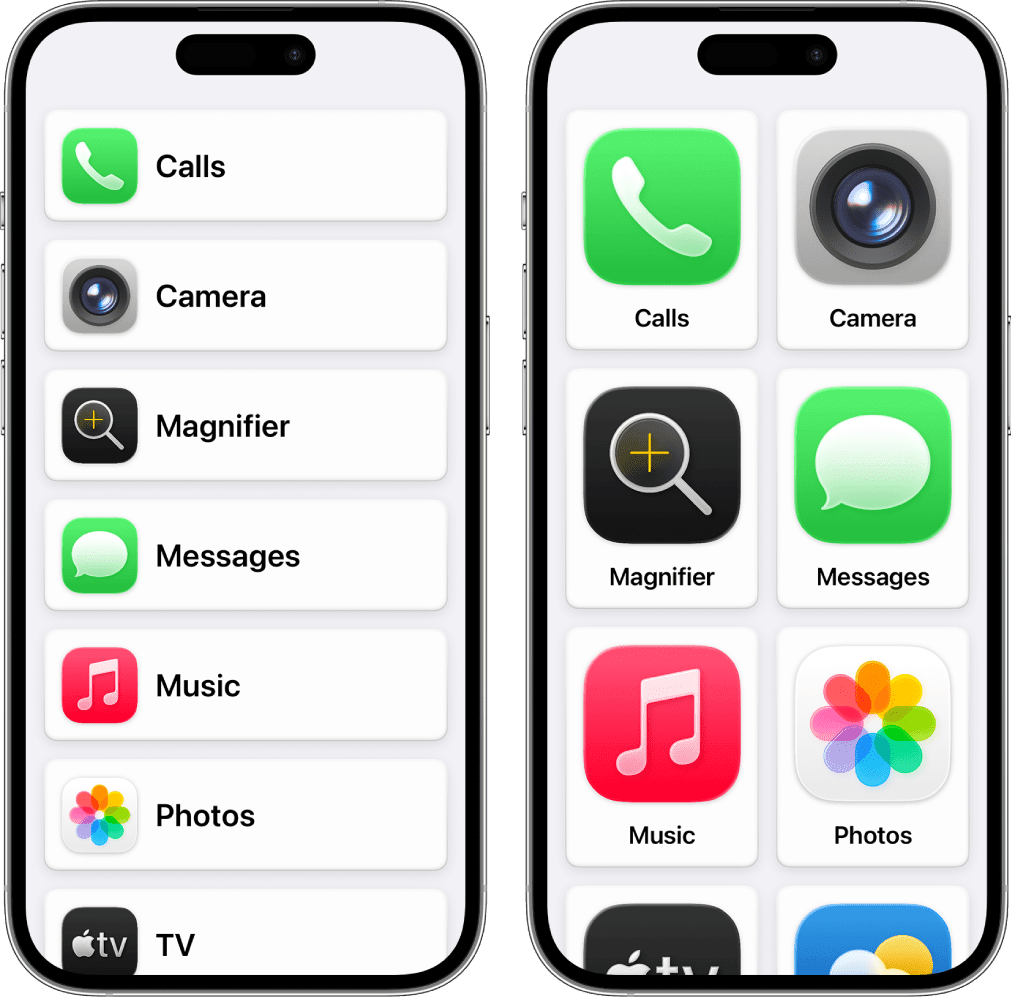
Keep only the most useful apps on the first Home Screen. Good choices may include:
• FaceTime or another video call app
• Messages
• Phone, if supported by the setup
• Photos
• Safari
• Calendar
• Weather
• Maps
• Books
• Music or a favorite video service
Move rarely used apps to another Home Screen or the App Library. Remove apps that are confusing, unsafe, or unnecessary.
Place apps in a logical order. For example, put communication apps at the top and entertainment apps at the bottom. Use a familiar wallpaper with strong contrast. A personal family photo may feel warm, but a plain background can make icons easier to see.
You can add widgets for weather, calendar events, or reminders. However, widgets should support the person’s routine rather than fill the screen. Too much information can make the iPad harder to understand.
Knowing how to set up an iPad for a senior also means knowing what not to add. Every extra app creates another icon, notification, update, or password to manage.

Install Only Trusted and Useful Apps
Install apps based on real needs, not on a long list of possibilities. A senior may need only a few apps at first. You can add more later after they gain confidence.
Before installing an app, check:
• The developer name
• The app’s rating and recent reviews
• What information the app wants to collect
• Whether it includes subscriptions or in-app purchases
• Whether it has clear customer support
Be careful with free games, prize offers, and apps that promise instant health results. Some may use aggressive ads or recurring charges.
Review App Store purchase settings. Ask whether the senior should be able to make purchases without approval. Family Sharing and purchase approval may help in some families, but account roles should be set carefully.
For banking, health, and government apps, download them from the official organization whenever possible. Do not install an app just because an unexpected pop-up says the iPad has a virus.

Set Up Video Calling and Contacts
Video calls are often the main reason a senior wants an iPad. Set up the service before giving the device to them, then test it from another phone or tablet.
Add important contacts with clear names and photos. “Sarah Daughter” may be easier to recognize than “Sarah M.” Use large, friendly contact photos if that helps.
Create a simple calling routine:
-
Open the video call app.
-
Tap the family member’s name or photo.
-
Tap the video button.
-
Wait for the person to answer.
-
Tap the red button to end the call.
Place the app in the same spot every time. A printed card beside the iPad can show these steps with large text.
Teach the senior what to do if a call does not work. They can check Wi-Fi, confirm that the cover is not blocking the camera, and restart the app. Avoid making them feel at fault. Technology problems often come from network issues or software changes.
If you are deciding how to set up an iPad for a senior who lives alone, schedule regular test calls. A weekly call can confirm that the iPad is charged, connected, and working.
Turn On Safety and Privacy Features
An iPad can support independence, but it should not replace medical care or emergency services. Set up safety features based on the senior’s needs and comfort.
Review these options:
• Find My iPad: Helps locate a lost device.
• Location Services: Lets approved apps use location when needed.
• Emergency SOS: May help contact emergency services on supported models.
• Medical ID: Can display important health details from the lock screen when configured on a connected iPhone.
• Screen Time: Helps manage purchases, websites, and app use.
Use the privacy settings in Settings to review camera, microphone, photos, contacts, and location access. An app should not receive access it does not need.
Avoid monitoring a senior without their knowledge. Privacy and independence matter. Explain what family members can see and why a feature is being used.
For scams, teach three simple rules:
• Do not give passwords to unexpected callers.
• Do not tap urgent links in strange messages.
• Ask a trusted person before sending money or personal information.
The Federal Trade Commission regularly warns that scammers use urgency, fake support messages, and impersonation. A calm pause is often the best defense.
Enable Backups and Automatic Updates
Backups protect photos, contacts, notes, and other important information if the iPad is lost or damaged. Open Settings, tap the Apple Account name, choose iCloud, and review iCloud Backup.
Automatic backups usually work when the iPad is connected to power and Wi-Fi. Make sure there is enough iCloud storage for the information that matters.
Automatic updates can improve security and fix errors. In Settings, open General, then Software Update, and review Automatic Updates.
Updates may change the location of buttons or menus. After a major update, check the Home Screen and test the most important apps. If the senior notices a change, explain it in simple terms instead of assuming they will discover it alone.
Do not rely on the iPad as the only copy of important records. Keep essential contacts and medical information in another secure place. Cloud services are useful, but every system has limits.
A reliable setup includes a backup plan for the device and a human backup plan for the user. Decide who will help with passwords, updates, repairs, and account recovery.
Create a One-Page User Guide
A short printed guide can be more useful than a long technology manual. Use large letters and simple steps.
Include only the tasks the senior will use most. For example:
-
To wake the iPad, press the top button.
-
To unlock it, look at the screen or enter the passcode.
-
To call family, tap the FaceTime icon.
-
To return home, swipe up from the bottom or press the Home button.
-
To charge it, connect the cable to the port.
-
For help, call the listed family member.
Add the names and phone numbers of two trusted helpers. Do not print account passwords on the guide.
Use screenshots with arrows if the senior learns better by sight. Test the guide by giving it to the senior without explaining anything. If they can complete the main task, the guide works. If not, simplify it.
This is one of the most valuable steps in how to set up an iPad for a senior. The goal is not to explain every feature. The goal is to make the next useful action clear.
Practice Before Handing Over the iPad
After setup, practice in short sessions. Ten minutes of calm practice is often better than an hour filled with too many instructions.
Start with three tasks:
• Unlock the iPad
• Make a video call
• Return to the Home Screen
Next, practice charging, adjusting volume, opening photos, and responding to a message. Let the senior tap and swipe while you give quiet guidance.
Do not take the iPad away too quickly when they make a mistake. Ask, “What do you think we should try?” This builds confidence and helps them learn the reason behind each step.
Keep a list of problems that appear during the first week. The senior may struggle with a small detail that was not obvious during setup, such as the screen going dark too soon or a case covering the speaker.
After a week, review the setup together. Remove unused apps, adjust text size, and move the most important icons. The best iPad setup changes as the person’s habits become clear.
Common Mistakes to Avoid
Even a careful setup can become frustrating if small issues are missed. Watch for these common mistakes:
• Installing too many apps at once
• Using tiny text and low screen brightness
• Leaving every app notification turned on
• Creating a second Apple Account by accident
• Forgetting to test the charger
• Using a case that blocks the camera or speaker
• Failing to explain the passcode
• Making changes without telling the senior
• Relying on memory instead of a printed guide
• Forgetting to set up backups
One common mistake is setting up the iPad for the helper rather than for the senior. The helper may prefer a complex password or advanced feature, but the senior needs a system that feels natural.
Another mistake is assuming that a person who can use a smartphone will automatically understand an iPad. The screen may be larger, but the gestures, settings, and app layout can still feel new.
If a feature causes repeated confusion, remove it or simplify it. Accessibility is not about using every available option. It is about making the device work for the person.
How to Maintain the iPad Over Time
A good setup needs light maintenance. Once a month, check storage, battery health, software updates, backups, and app notifications.
Ask the senior these questions:
• Is the text still easy to read?
• Can you hear calls and videos?
• Do you know how to charge it?
• Are any messages or alerts confusing?
• Are the apps you use still on the same screen?
• Do you know who to call for help?
Keep the iPad’s software current when possible. Updates help protect the device, but they can also change the interface. After updating, confirm that important apps and contacts are still easy to find.
Clean the screen with a soft, slightly damp cloth. Do not spray liquid directly onto the iPad. Keep drinks away from the device, especially near the charging port.
If the iPad becomes slow, check storage and remove unused downloads. Restarting the device may also solve small problems. For repeated errors, contact Apple Support or a qualified repair provider.
When families ask how to set up an iPad for a senior, they often focus on the first day. In practice, a short monthly check keeps the experience smooth for much longer.
Frequently Asked Questions About How to Set Up an iPad for a Senior
What is the easiest iPad setup for a senior?
The easiest setup uses large text, a simple Home Screen, strong contrast, trusted contacts, and only essential apps. Add a sturdy case, a charging routine, and a short printed guide.
Should a senior have their own Apple Account?
Usually, yes. A personal Apple Account keeps photos, contacts, backups, and purchases organized and gives the senior control of their information.
How do I make an iPad easier for an older adult to see?
Increase Text Size, try Bold Text and Display Zoom, and adjust brightness and contrast. Test these settings in real apps because extremely large text can make some buttons harder to find.
Can I set up an iPad remotely for a senior?
You can guide someone by phone or video call, but hands-on setup is often easier. Account passwords, Wi-Fi details, accessibility settings, and physical charging needs are simpler to verify in person.
How do I stop accidental purchases on an iPad?
Review App Store purchase settings and consider purchase approval through family controls where appropriate. Also explain that unexpected pop-ups should not be used to approve payments.
Is an iPad safe for a senior who lives alone?
An iPad can support communication, reminders, location tools, and access to help, but it is not a replacement for an emergency alert system or medical care. Set up trusted contacts and emergency features based on the senior’s needs.
What should I do if the senior forgets the iPad passcode?
Avoid repeated guessing because too many failed attempts can lock the device. Use Apple’s official account recovery or support process, and keep recovery information in a secure place.
Conclusion
The best way to set up an iPad for a senior is to keep it clear, comfortable, secure, and built around daily needs. Start with large text and simple controls, then add trusted contacts, useful apps, backups, privacy settings, and a printed guide.
Practice the key tasks together, watch for confusion, and make small changes after the first week. A well-planned iPad can help a senior stay connected, enjoy more independence, and feel closer to family. Share your setup tips in the comments or explore more accessibility resources to keep improving the experience.

Michael Reynolds is a senior contributor at RetirementGazette.com, where he focuses on helping readers navigate the journey toward a secure and fulfilling retirement. With over a decade of experience in personal finance, retirement planning, and lifestyle writing, Michael combines practical strategies with easy-to-understand guidance tailored for both pre-retirees and those already enjoying their golden years.