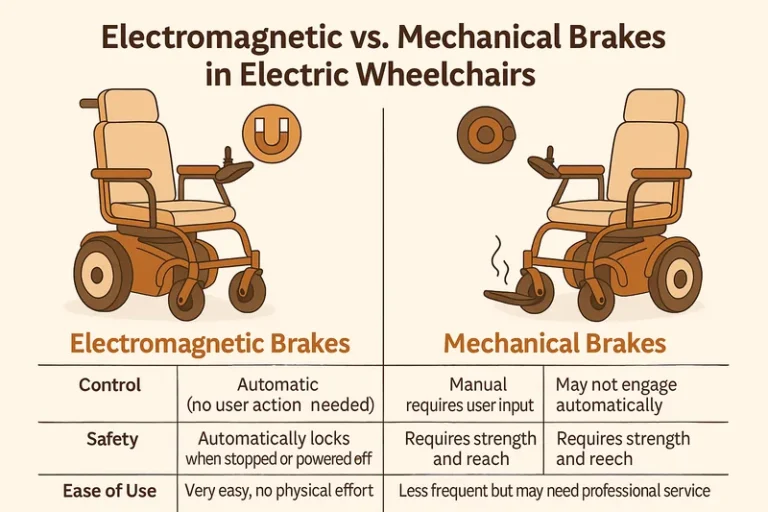
Measure seat width, depth, back height, and leg clearance precisely for safe, comfortable use.
I’ve measured dozens of chairs for clients and family members, and I’ll walk you through exactly how to measure for an electric wheelchair with clear, practical steps. This guide combines hands-on tips, clinical insight, and real-world examples to help you get the right fit the first time. Read on to learn the tools to use, the measurements that matter, common mistakes to avoid, and when to ask a clinician for help.
Why accurate measurements matter
A well-measured electric wheelchair improves comfort, skin health, posture, and independence. Poor fit can cause pain, pressure sores, reduced control, and unsafe transfers. Knowing how to measure for an electric wheelchair helps you match the user’s body, daily needs, and home environment. Accurate numbers guide cushion choice, back supports, and drive-wheel type so the chair works in real life, not just on paper.
Tools you need to measure
- Tape measure: flexible cloth or steel tape for body and frame measurements.
- Ruler or seat depth gauge: for precise seat depth readings.
- Spirit level: to check pelvic tilt and seat angle.
- Pen and paper or phone note app: to record numbers and photos.
- A second person: to help position and steady the user during measuring.
Carry a small cushion or folded blanket to mimic everyday seating if the user typically uses one. This keeps measurements realistic and consistent.
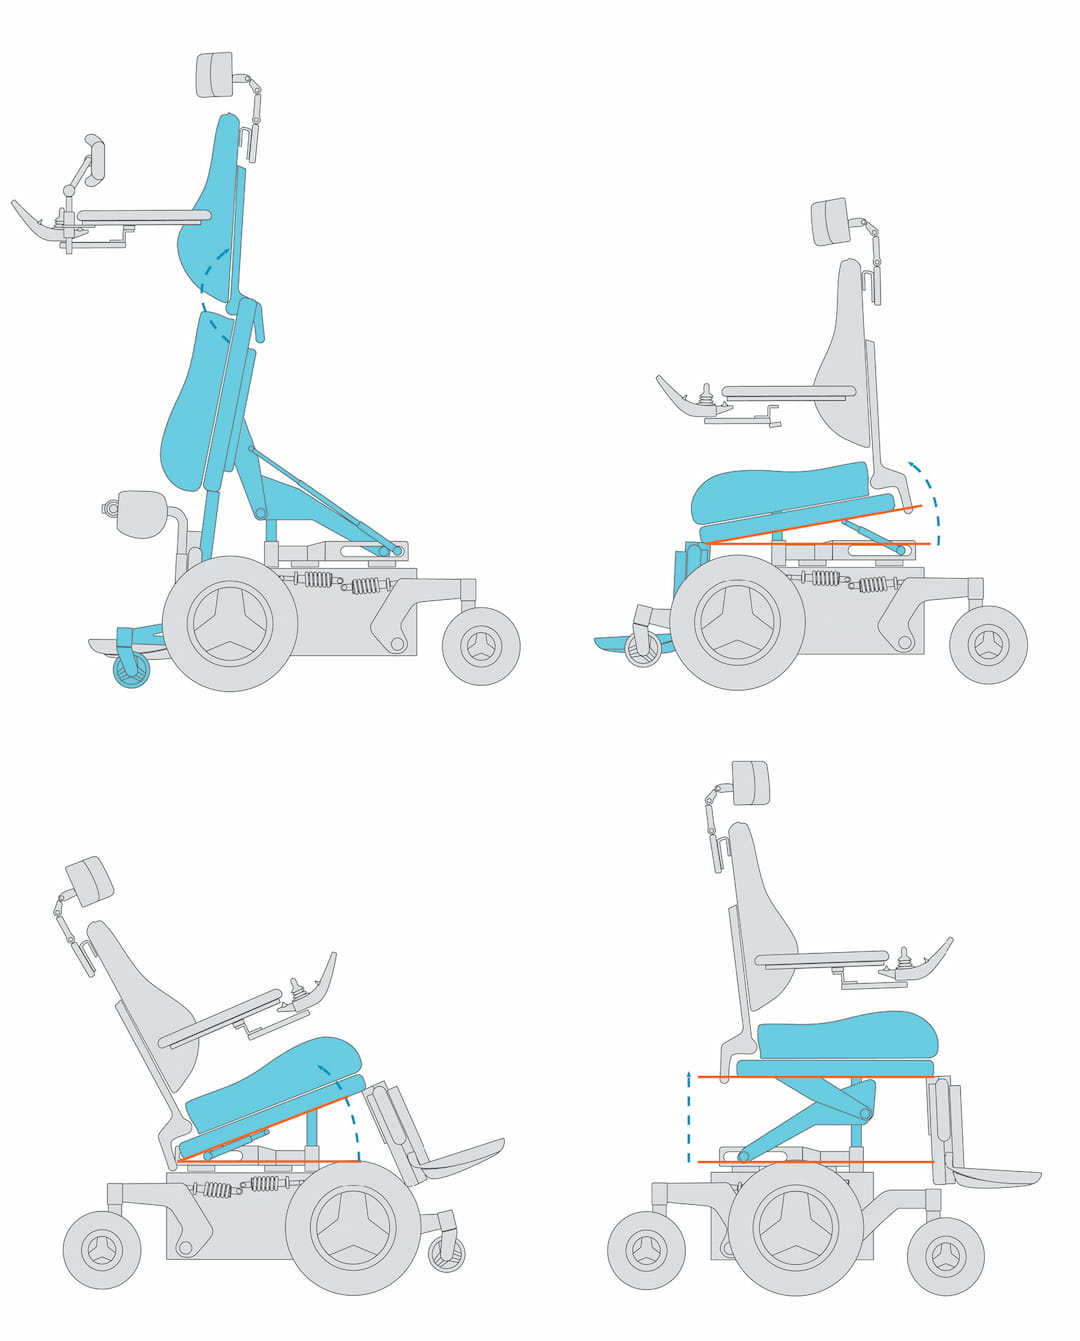
Step-by-step: How to measure for an electric wheelchair
-
Prepare the user and space.
Have the person wear typical clothes and shoes. Sit them on a firm surface that mimics a wheelchair seat. Keep feet flat and knees at 90 degrees when possible. -
Measure seat width.
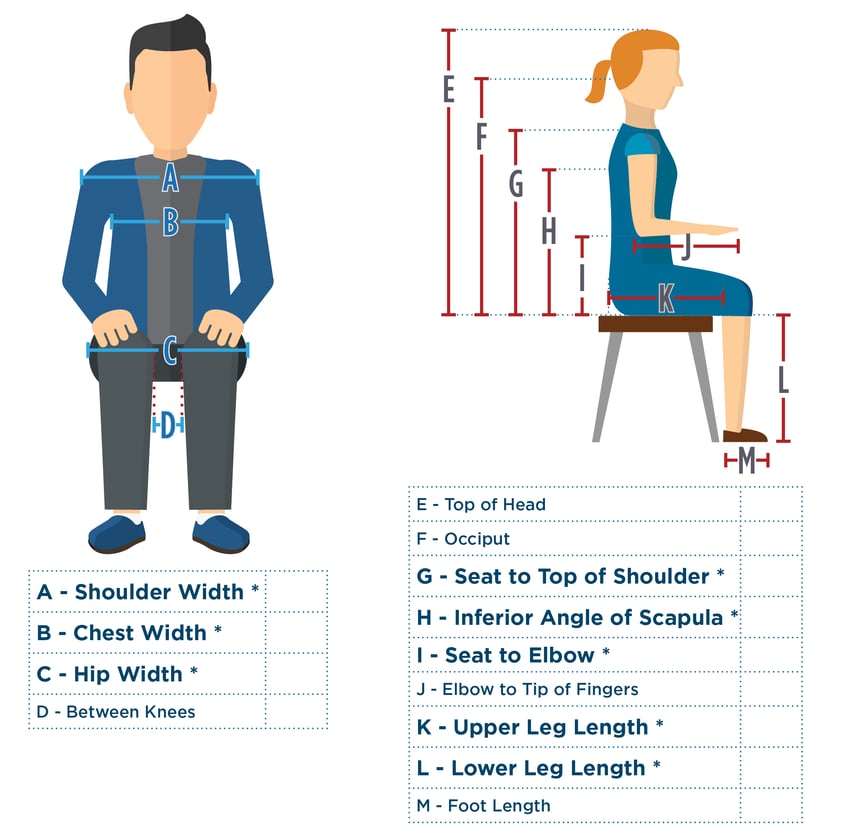
Measure across the widest part of the hips or thighs while the user is sitting. Add 1 to 2 inches for clothing and movement. This is critical when you learn how to measure for an electric wheelchair because seat width affects balance and maneuvering. -
Measure seat depth.
Measure from the back of the buttocks to the back of the lower knee (popliteal fold). Subtract 1 to 2 inches to avoid pressure on the knee. Proper seat depth prevents sliding and pressure at the knee. -
Measure back height.
Measure from the seat surface to the top of the shoulder blade or to the lower scapula depending on desired trunk support. Add headrest height if needed. Back height affects support and ability to use controls. -
Measure seat-to-floor height.
Measure from the seat surface to the floor while the user’s heels rest flat on the floor. This determines footplate height and whether the user can reach ground surfaces and transfer safely. -
Measure armrest height.
Measure from the seat surface to the underside of the forearm while the elbow is bent at 90 degrees. Armrest height influences posture and comfort for transfers and control. -
Measure leg length and footrest clearance.
Measure from the back of the knee to the heel with the leg at 90 degrees. Add room for shoes and cushion compression. Check toe and knee clearance under tables and doorways. -
Measure turning radius and doorway needs.
Measure home door widths and common clearance points. Note hallways, carpet thresholds, and ramps. This step links body-fit measurements to environmental fit.
Repeat each measurement twice and record both sets. Photos from different angles help later. Knowing how to measure for an electric wheelchair is part method and part attention to small details.

How to interpret measurements and choose the right features
- Seat width choice: match the measured width plus allowance. If someone is borderline, choose wider for comfort or a custom seat for pressure issues.
- Seat depth choice: too short causes poor posture; too long causes pressure behind the knees. Use your seat depth measurement to choose the right cushion and backrest placement.
- Back height and support: higher backs add trunk support but limit shoulder movement. Low backs increase mobility but need better pelvic support. Use back height measurement to match the user’s functional needs.
- Seat-to-floor and wheel type: mid-wheel drive often lowers seat height; front- and rear-wheel drive have different turning spaces. Your seat-to-floor measure helps pick a drive base that fits daily tasks.
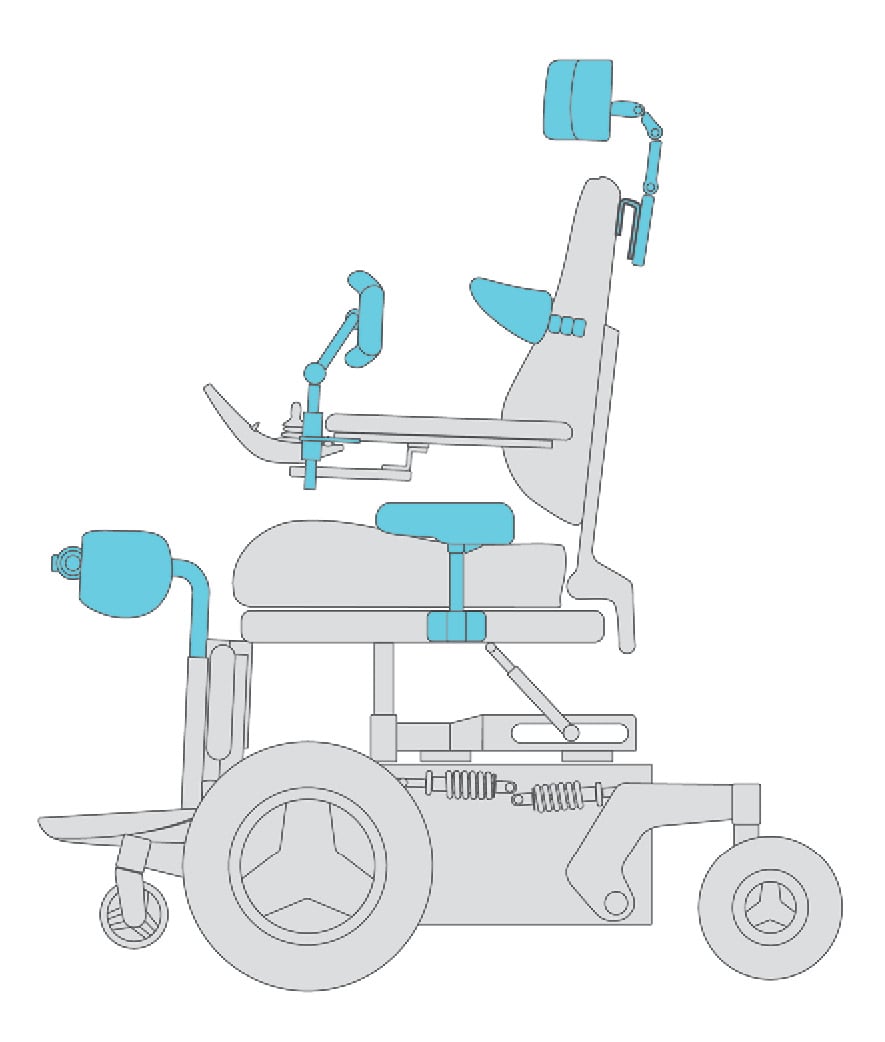
- Armrests and controls: place armrests and joystick where the arm naturally rests. Controls should be reachable without shoulder strain.
From experience, a client who had repeated pressure at the sacrum needed a shallower seat depth and a firmer cushion; measuring properly solved the issue. When you master how to measure for an electric wheelchair, you can combine numbers with user goals to pick the best chair model.
Common mistakes and how to avoid them
- Measuring standing instead of seated: Always measure seated. Standing changes hip and back angles.
- Forgetting clothing or cushion thickness: Measure while wearing typical clothing and any everyday cushion.
- Rounding too much: Round to the nearest half inch at most. Small differences matter.
- Ignoring environment: Door widths, carpets, and car access affect fit. Measure these spaces, not just the body.
- Overlooking transfers: If the person transfers independently, measure transfer heights like bed and car seat.
Will a cushion change measurements? Yes. Account for cushion thickness by measuring with the cushion in place.
Will weight affect fit? Yes. Cushion compression and frame clearance can shift with weight, so use measurements under typical load.
Can children use adult chairs? Not directly. Pediatric bodies need different seat depths and trunk support; measure accordingly.
Avoid these errors and you’ll get a safer, more comfortable chair when you learn how to measure for an electric wheelchair.

Transfers, doorways, transport, and home access
- Measure door widths: narrow doors need wider clearances. Aim for at least 32 inches of clear width for common electric chairs.
- Check ramp slope: measure rise and run. Steep ramps reduce safety and maneuverability.
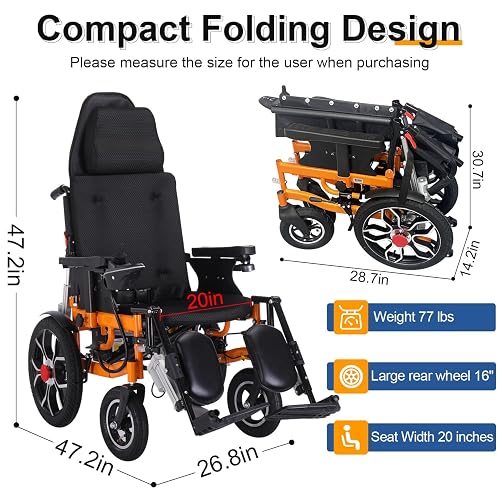
- Car and van measurement: measure seat height, transfer clearance, and lift dimensions. Some electric wheelchairs fold; others need disassembly.
- Home layout: note threshold heights, tight turns, and furniture spacing.
When measuring how to measure for an electric wheelchair, always map the route the user will take daily. This avoids surprises after purchase.

When to see a professional and custom fittings
Consult an occupational therapist, physical therapist, or a certified assistive technology professional for complex needs. They can perform dynamic seating assessments, pressure mapping, and recommend custom bases or seating systems. In one case, a client’s posture improved markedly after a clinician adjusted pelvic straps and changed back height based on measured pelvic alignment. Professionals also help complete documentation for insurance and ensure safety standards are met.
Insurance, costs, and documentation
Insurance may require documented measurements, trial notes, and a letter of medical necessity. Keep clear records: initial measurements, photos, clinician notes, and trial outcomes. Costs vary by base, power options, and custom seating. Accurate measurements can lower the chance of rejection or returns by showing objective need and fit. When you document how to measure for an electric wheelchair, you strengthen the case for coverage.
Maintenance and when to re-measure
Re-measure if the user gains or loses significant weight, after major health events, or every 12–24 months. Cushions compress and posture can change. Regular check-ups help catch pressure risk and prevent fit-related pain. Keep a measurement log with dates and notes about condition changes or new pain.
Frequently Asked Questions of How to measure for an electric wheelchair
How do I measure seat width correctly?
Measure the widest point across the hips or thighs while the person sits with good posture. Add 1 to 2 inches for comfort and clothing.
How deep should the seat be for pressure relief?
Measure from the back of the buttocks to the back of the lower knee and subtract 1 to 2 inches. That gap prevents pressure on the knee and supports posture.
Can I measure myself at home without help?
Yes, but a second person makes measurements more accurate. If alone, use mirrors or photos to confirm alignment and re-check numbers.
Do I include cushions in my measurements?
Always measure with the cushion the user will actually use. Cushion thickness changes seat height and depth.
When should I get a professional fitting?
See a clinician for complex needs, skin breakdown risk, or if mobility goals and equipment choices conflict. Professionals offer pressure mapping and dynamic assessment.
Will my wheelchair fit through my front door?
Measure door clear width and subtract any threshold protrusion. Compare the result to the wheelchair width with armrests and any added accessories.
Conclusion
Getting fit right starts with careful, repeatable measurements and a clear view of daily needs. Use the step-by-step guidance above to measure seat width, depth, back height, and transfer clearances. If you’re unsure, work with a clinician to confirm numbers and test a trial chair. Take action today: record your measurements, photograph seating angles, and consult a mobility specialist if you need help. Share your experience, ask questions, or subscribe for more practical guides on mobility and accessible living.

Michael Reynolds is a senior contributor at RetirementGazette.com, where he focuses on helping readers navigate the journey toward a secure and fulfilling retirement. With over a decade of experience in personal finance, retirement planning, and lifestyle writing, Michael combines practical strategies with easy-to-understand guidance tailored for both pre-retirees and those already enjoying their golden years.