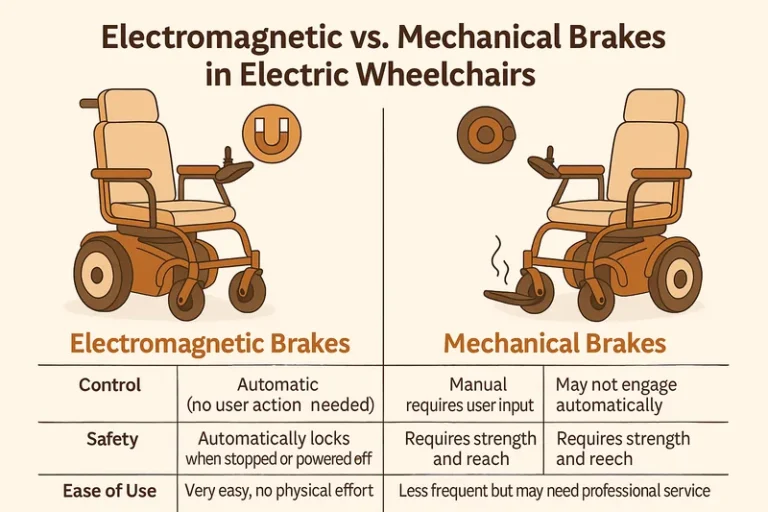
You can convert a manual wheelchair to electric using a bolt-on motor kit and a battery.
I’ve helped people convert a manual wheelchair to electric many times. I will guide you step by step. You’ll learn options, parts, costs, safety checks, and real tips from hands-on work. This article is written to help you make a safe, practical decision about how to convert a manual wheelchair to electric with confidence.

Why convert a manual wheelchair to electric
Converting a manual wheelchair to electric can add freedom. It cuts fatigue and makes long trips possible. Many users keep their familiar chair frame but gain power and control. The process suits people who want cost savings or a custom setup instead of buying a new powered chair. Converting a manual wheelchair to electric is often faster and cheaper than replacing the whole chair.
Common conversion approaches
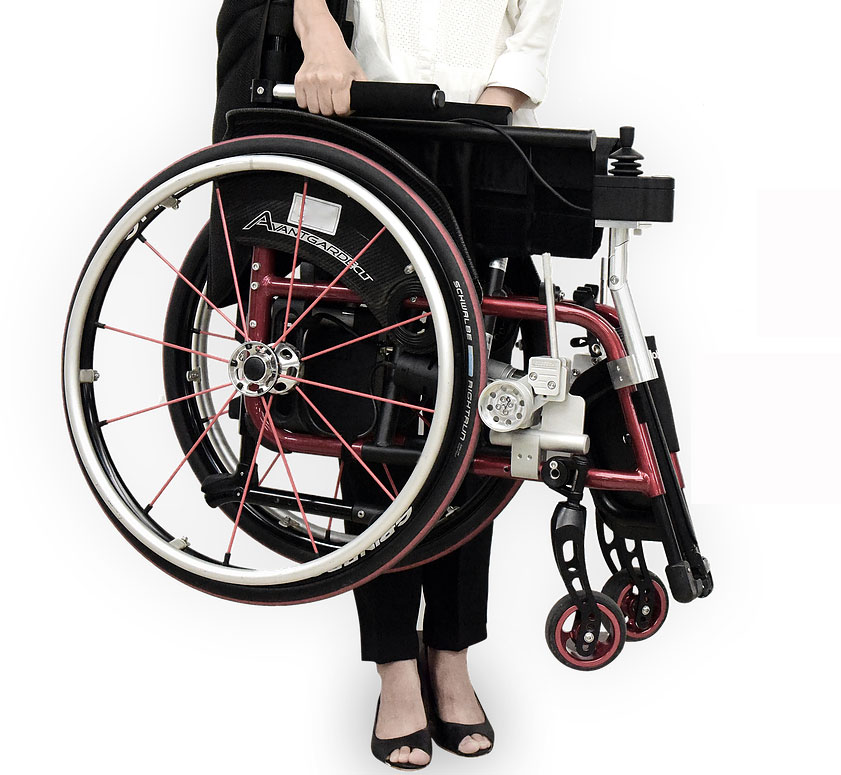
There are three main ways to convert a manual wheelchair to electric. Each suits different needs and budgets.
- Bolt-on scooter-style drive units. These attach to the front or rear axle and push the chair.
- Hub-motor wheel replacements. These swap the rear wheels for powered wheels.
- Full DIY motor and controller installs. These require custom mounts and wiring.
Bolt-on kits tend to be easiest. Hub-motor swaps give cleaner handling. Full DIY offers flexibility but needs skills. Choosing how to convert a manual wheelchair to electric starts with your mobility goals and mechanical comfort.

Key components you’ll need
Understanding parts helps you plan. Here are the essentials to convert a manual wheelchair to electric.
- Motor. Either hub motors in the wheel or a separate drive motor.
- Controller. Manages power to the motor and throttle input.
- Battery. Deep-cycle or lithium packs sized for range and weight limits.
- Throttle or joystick. Gives user control over speed and direction.
- Mounting brackets. Secure motors and controllers to the frame.
- Wiring and fuses. Safe connections and protection from short circuits.
- Charger. Matches battery chemistry and capacity.
Quality parts affect safety, weight, and range. When you convert a manual wheelchair to electric, invest in reliable components rated for your chair’s weight capacity.

Step-by-step: How to convert a manual wheelchair to electric
Below is a practical step-by-step guide. Read fully before you start. Work methodically and test each step.
- Assess the chair and needs
- Check frame strength and axle type.
- Note seat width, wheel size, and total weight capacity.
- Decide desired range and top speed.
- Choose a conversion method
- Pick a bolt-on, hub-motor replacement, or full custom plan.
- Consider how much modification you can tolerate.
- Select parts and buy a kit or components
- Match motor power to user weight and terrain.
- Choose battery type: lead-acid for budget, lithium for weight and lifespan.
- Ensure controller matches motor voltage.
- Prepare tools and workspace
- Gather basic tools: wrenches, screwdrivers, wire crimpers, multimeter.
- Have safety gear: gloves and eye protection.
- Mount motors and brackets
- Follow kit instructions for bolt-on units.
- For hub swaps, remove old wheels and install powered wheels.
- Secure all bolts with thread locker where needed.
- Install controller and battery
- Mount controller in a protected spot.
- Fasten battery with straps. Keep it low and central to reduce tipping.
- Wire components safely
- Use correct gauge wire and crimp connectors.
- Add fuses and a main disconnect switch.
- Label wires and secure them with zip ties.
- Install the control interface
- Mount the throttle or joystick within easy reach.
- Test switches and deadman features for safety.
- Test and tune
- Start at low speed and test in a safe area.
- Check braking, steering, and mounting security.
- Adjust controller settings if needed.
- Final safety check
- Verify brakes work with motor engaged.
- Inspect for overheating during a short run.
- Tighten all hardware after the first few rides.
When you convert a manual wheelchair to electric, take your time. Small steps prevent big mistakes.

Safety and legal considerations
Safety is key when you convert a manual wheelchair to electric. Know the rules and risks.
- Local laws. Some areas classify powered chairs as mobility devices or motor vehicles. Check local rules.
- Brakes. Motorized chairs need reliable braking under load. Test at speed.
- Weight and center of gravity. Adding batteries changes balance and may increase tip risk.
- Water and weather. Protect electrical parts from moisture.
- Serviceability. Keep access to the battery and fuse for maintenance.
I always advise users to consult a rehab therapist or mobility specialist before converting a chair. They can check posture needs and safe seating while power is added.

Cost breakdown and budget tips
Costs vary by method and parts. Here’s a typical range to plan.
- Bolt-on conversion kits: low to mid range. Expect $300 to $1,200.
- Hub-motor wheel kits: mid range. Expect $800 to $2,000.
- Full custom builds: higher range. Expect $1,200 to $4,000 or more.
- Batteries and charger add $150 to $1,200 depending on chemistry and capacity.
To save money, consider refurbished parts and community mobility programs. Don’t cut corners on the motor controller, battery safety features, or strong mounting brackets. When you convert a manual wheelchair to electric, upfront investment in quality reduces long-term risks.

Benefits and limitations
Weigh pros and cons before you convert a manual wheelchair to electric.
Benefits
- Restores independence and reduces fatigue.
- Keeps a familiar chair setup and seating.
- Customizable to user needs and budget.
Limitations
- Added weight and bulk from batteries.
- Possible warranty or regulatory issues.
- Not always suitable for very lightweight or folding frames.
Think about how you will use the chair daily. If you need long range or frequent outdoor use, choose higher capacity parts.

Maintenance and troubleshooting
Regular care keeps a converted chair safe and reliable.
- Charge battery after use and follow manufacturer cycles.
- Inspect mounts and fasteners weekly at first, then monthly.
- Keep wiring clean and check fuses when power fails.
- Monitor battery health and replace cells when capacity drops.
Common issues and fixes
- No power: check main fuse, battery voltage, and connectors.
- Weak range: battery aging or poor charging routine.
- Motor noise: loose mount or worn bearings.
I once helped a client who had motor stutter. A loose connector was the cause. Tightening and adding dielectric grease fixed it in minutes. Small fixes often save big hassles.
My experience: lessons from real conversions
I’ve converted several chairs for friends and clients. These are the practical lessons I learned.
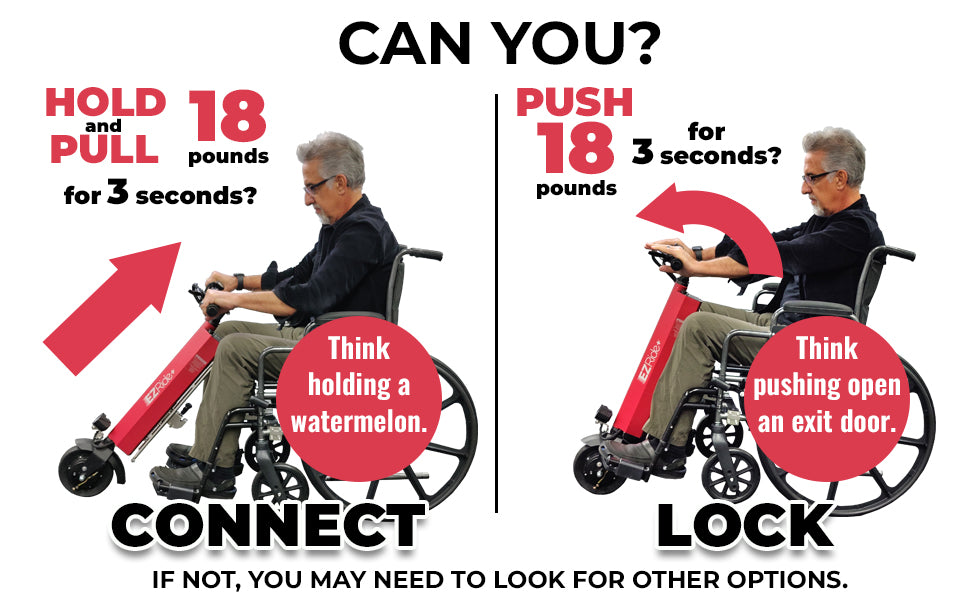
- Start with the easiest fix. Bolt-on kits often win for first-timers.
- Balance matters. Place the battery low to avoid tipping.
- Test in flat, open spaces before real use.
- Document wiring and keep spares like extra fuses and connectors.
One mistake I made early on was using a heavy lead-acid battery on a narrow chair. The chair felt unstable. Switching to a light lithium pack solved the problem and improved range. When you convert a manual wheelchair to electric, prioritize balance and stability over small cost savings.
Choosing who should convert your chair
Decide whether you will DIY or use a pro. Both paths work.
- DIY. Good for those with basic mechanical skills and desire to learn. Requires time and patience.
- Mobility technician. Best for complex setups, custom seating, or if you need certification for insurance.
- Local rehab shops. They often offer evaluation and installation services.
If you have posture needs, involve a clinician. A pro can ensure the powered system works with seating and pressure relief systems.
Buying tips and where to look
Smart buying avoids bad gear. Use these tips.
- Compare motor power ratings and battery voltage. Higher voltage often means better performance.
- Read reviews and look for kits with clear instructions.
- Check return policies and warranty on motors and controllers.
- Buy batteries from reputable sellers and verify chemistry and capacity.
Look at community forums and local mobility clinics for used parts. Many users sell gently used hub motors or chargers after upgrades.
Frequently Asked Questions of How to convert a manual wheelchair to electric
How long does it take to convert a manual wheelchair to electric?
A simple bolt-on conversion can be done in 1 to 3 hours. Full custom installs may take a day or more depending on fabrication.
Will conversion change my chair’s warranty?
Yes. Modifying a new wheelchair may void the manufacturer warranty. Check your warranty terms and consult the maker before you modify.
What battery type is best for a conversion?
Lithium batteries are lighter and last longer but cost more. Lead-acid is cheaper but heavier and offers less life per cycle.
Can any manual wheelchair be converted?
Not any chair. Lightweight folding frames or chairs with low weight ratings may not be safe. Evaluate frame strength and axle type first.
Is it safe to ride a converted wheelchair outdoors?
Yes if the conversion is done properly and safety checks are done. Make sure brakes, grounding, and waterproofing are addressed before frequent outdoor use.
Conclusion
Converting a manual wheelchair to electric is a practical way to regain mobility and reduce fatigue. You can choose a bolt-on kit, swap in hub motors, or build a custom system depending on your skills and needs. Prioritize safety, balance, and quality parts. Start small, test often, and seek professional advice for seating and legal questions. If you’re ready, plan your build, gather parts, and take the first step to greater freedom. Share your progress, ask questions, or subscribe for more guides on conversion tips and troubleshooting.

Michael Reynolds is a senior contributor at RetirementGazette.com, where he focuses on helping readers navigate the journey toward a secure and fulfilling retirement. With over a decade of experience in personal finance, retirement planning, and lifestyle writing, Michael combines practical strategies with easy-to-understand guidance tailored for both pre-retirees and those already enjoying their golden years.