
Replace rollator wheels quickly by removing the axle, swapping wheels, and tightening securely.
I’ve repaired and maintained mobility aids for years. This guide explains how to replace wheels on a rollator walker step by step. You’ll learn which parts to buy, the right tools to use, safety checks, and troubleshooting tips. I’ll also share real-life tips from hands-on repairs and what manufacturers usually recommend. Read on to get the job done safely and with confidence.

Tools and parts you’ll need
Before you start, gather the right tools and parts. This keeps the job fast and safe.
- Replacement wheels that match your rollator model and size. The phrase How to replace wheels on a rollator walker helps you search for the right part.
- Axle pins, screws, or cotter pins as required by your model.
- Wrenches or socket set sized to your rollator hardware.
- Needle-nose pliers for removing small pins.
- Screwdriver set for any clamps or covers.
- Lubricant (light machine oil) and a clean cloth.
- Optional: rubber mallet and thread locker.
I usually buy exact-model wheels or universal wheels with the same axle size. This avoids fit issues and wobble.

When to replace wheels on a rollator walker
Knowing when to replace wheels keeps the rollator safe and smooth.
- Replace wheels if the tread is worn, cracked, or flat-spotted.
- Replace if you hear grinding or if steering becomes stiff.
- Replace when bearings feel loose or when the wheel wobbles.
- Replace after a crash or heavy impact even if damage looks minor.
In my experience, regular checks every 3 months help catch wear early. How to replace wheels on a rollator walker becomes simple when you inspect often.

How to replace wheels on a rollator walker: step-by-step
Follow these clear steps. Read all steps first, then work slowly.
- Prepare the rollator
- Lock the brakes and flip the rollator to access the wheel.
- If possible, remove any bags or accessories.
- Remove the old wheel
- Find the axle fastener. This may be a bolt, nut, cotter pin, or quick-release.
- Use pliers or a wrench to remove the pin or bolt. Keep small parts in a container.
- Slide the wheel off the axle. Note the wheel orientation and any spacers.
- Inspect axle and parts
- Check the axle for bends or rust. Clean with a cloth.
- Replace worn spacers or bearings as needed.
- Fit the new wheel
- Align the new wheel with the axle and any spacers. Slide it into place.
- Reinstall the axle fastener. Tighten bolts to firm, not over-tight.
- Test and adjust
- Spin the wheel to check for free movement and no wobble.
- Test brakes and fold function. Make small adjustments if needed.
Tips from my repairs
- Always match axle diameter and wheel width.
- If bearings are sealed, do not try to open them. Replace the wheel assembly.
How to replace wheels on a rollator walker is mostly about matching parts and careful reassembly.

Troubleshooting common issues
If the new wheel won’t fit or feels loose, try these fixes.
- Wheel won’t slide on the axle
- Check for a warped axle or wrong wheel size. Measure axle diameter.
- Wheel wobbles after installation
- Tighten the axle fastener slightly. Check for missing spacers.
- Wheel rubs the frame
- Reposition spacers or adjust the wheel mount. Inspect frame alignment.
- Brake performance changes
- Ensure brake cables are reconnected and adjusted. Test on level ground.
If problems persist, consult the rollator manual or a mobility technician. How to replace wheels on a rollator walker sometimes needs professional help for complex frames.

Maintenance tips to extend wheel life
Good maintenance keeps the rollator rolling longer.
- Clean wheels and bearings monthly. Remove dirt and hair.
- Lubricate bearings lightly once every 3–6 months.
- Avoid rough terrain whenever possible to save wheels.
- Rotate wheels when wear is uneven. Swap front and rear if sizes permit.
- Store your rollator indoors to prevent rust.
From hands-on experience, small tasks like cleaning and light lubrication double wheel life. These habits reduce how often you need How to replace wheels on a rollator walker fixes.
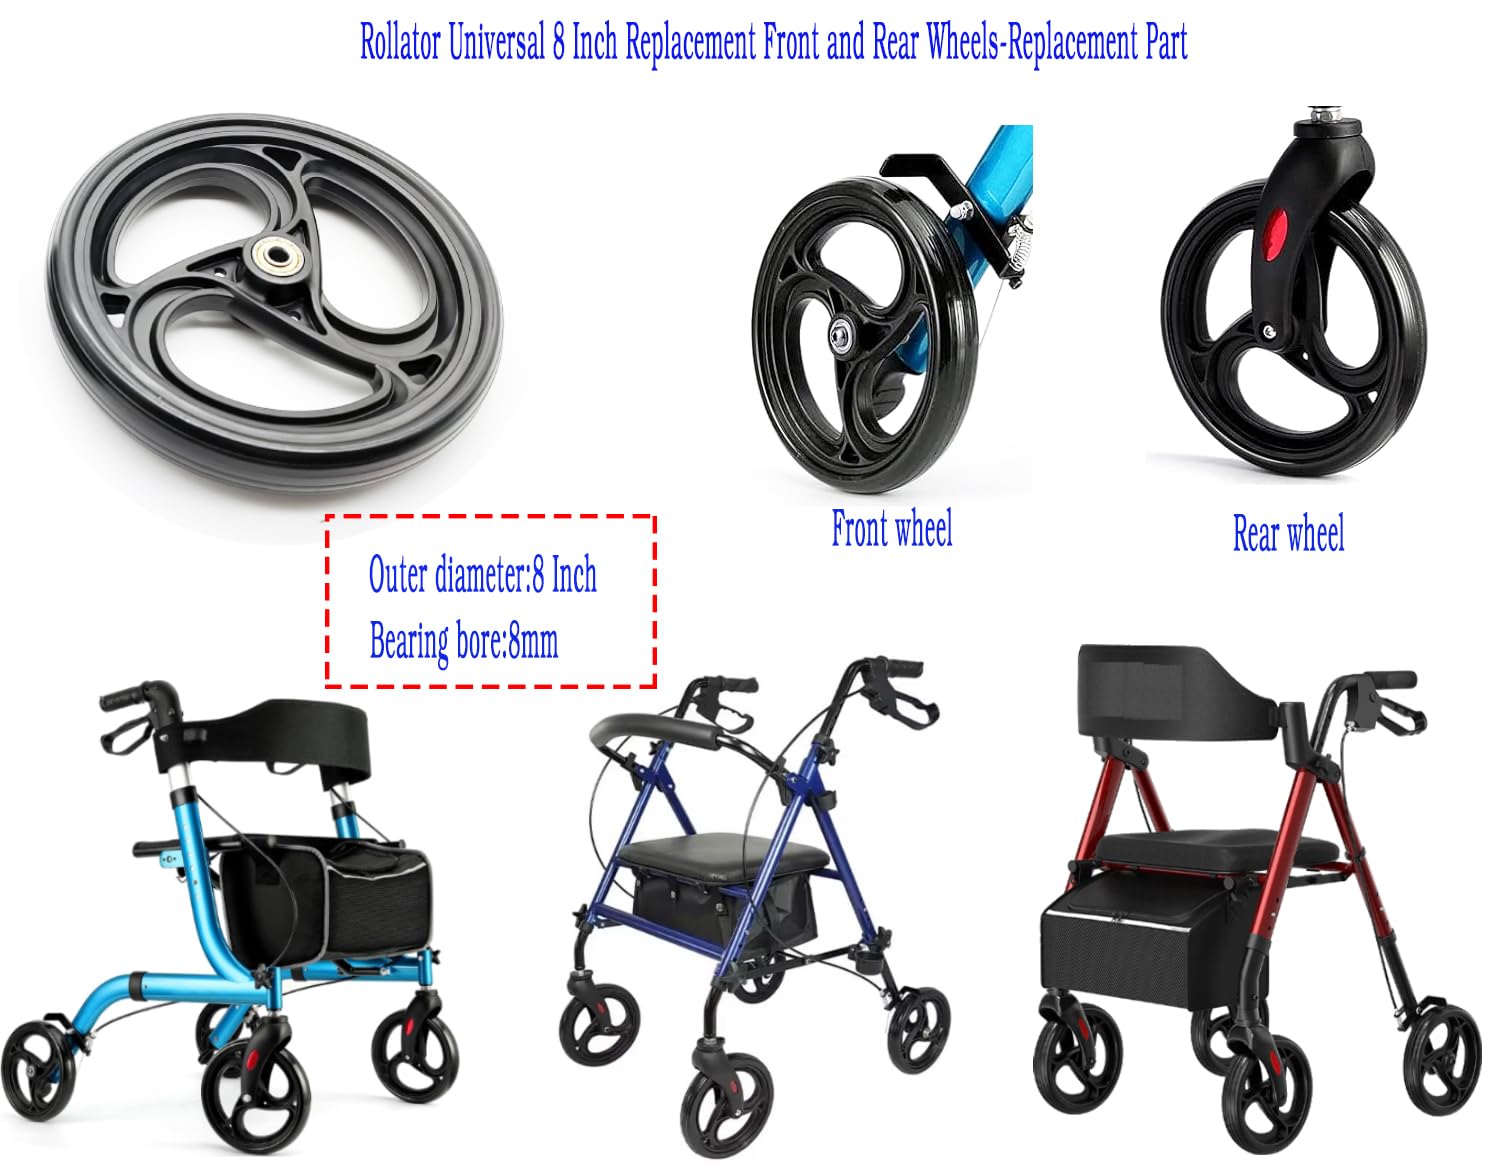
Costs and where to buy replacement wheels
Expect a range of prices. Options include local mobility shops and online stores.
- Standard wheels often cost $10–$40 each.
- Specialty or heavy-duty wheels may cost $40–$100+.
- Kits with bearings and fasteners may cost more but save time.
Look for wheels that list axle size in millimeters. Contact the rollator maker for exact part numbers. I’ve found local mobility shops helpful for quick fits and returns.
Safety considerations and legal notes
Safety protects you and others. Follow these basic rules.
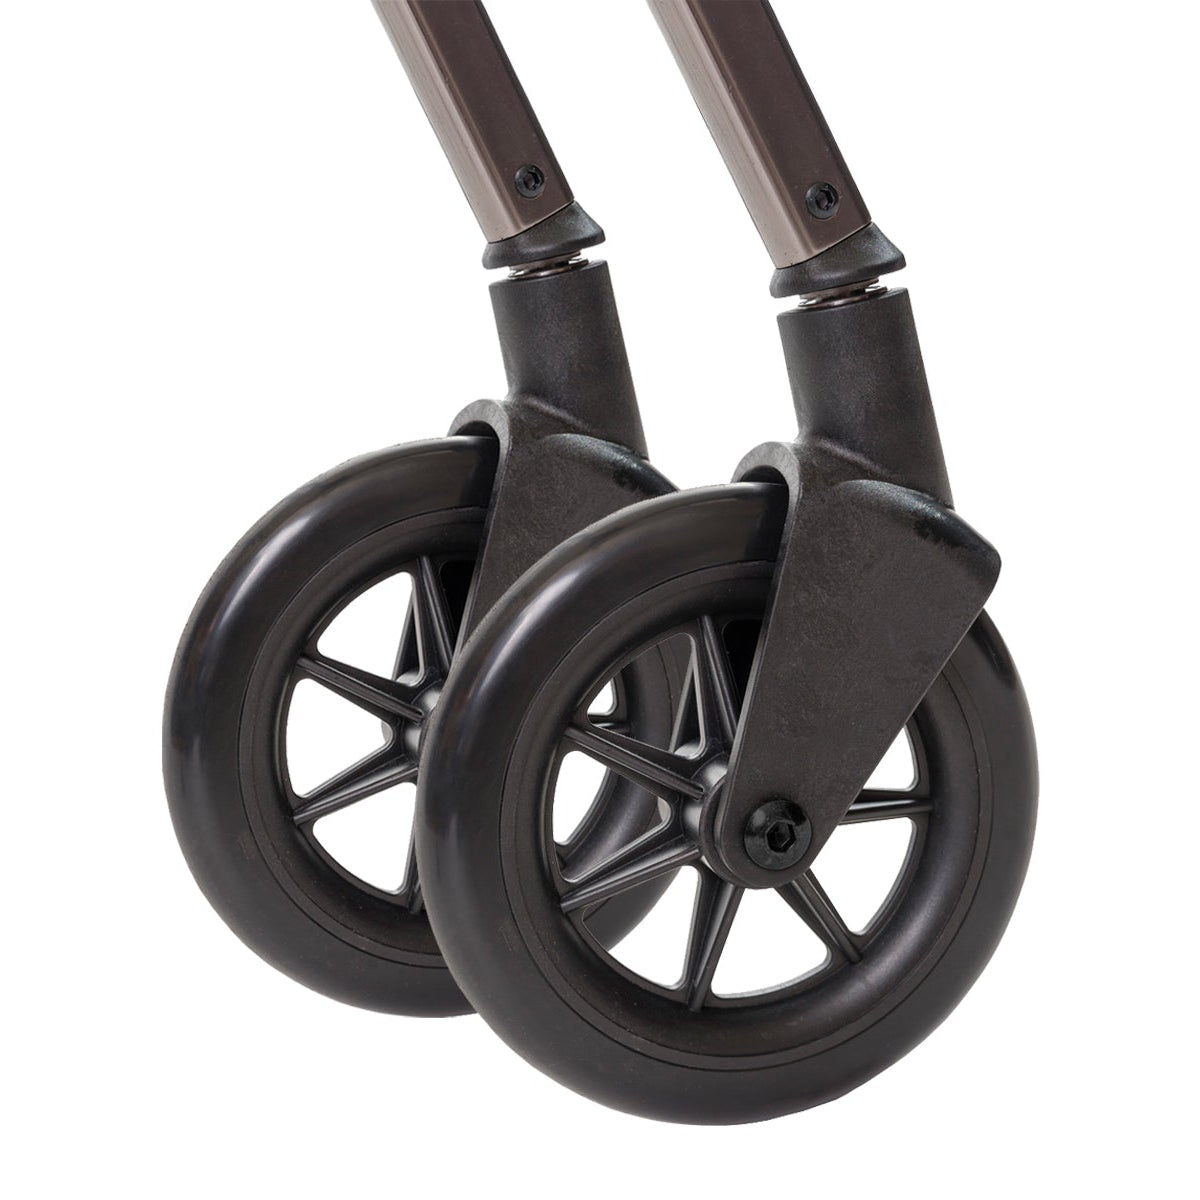
- Use the exact replacement or approved equivalents. Wrong parts can fail.
- Test the rollator fully before regular use.
- If the rollator supports heavy load or medical needs, ask a professional to inspect after replacement.
Manufacturers and mobility specialists emphasize correct parts and testing. How to replace wheels on a rollator walker must always prioritize safety.

Frequently Asked Questions of How to replace wheels on a rollator walker
How long does it take to replace wheels on a rollator walker?
Most replacements take 15–45 minutes depending on your tools and experience. Complex frames or rusted fasteners can add time.
Can I replace rollator wheels myself?
Yes, many people can replace rollator wheels with basic tools. Use the correct parts and follow safety checks to avoid problems.
How do I know the right wheel size for my rollator?
Measure the axle diameter and wheel diameter, or use the rollator model number to find manufacturer parts. Exact matching prevents fit issues.
What if the wheel keeps coming loose after replacement?
Check for missing spacers, worn fasteners, or stripped threads. Replace damaged hardware and tighten to a firm fit.
Are all rollator wheels interchangeable?
Not always. Some rollators use proprietary mounts or sizes. Verify compatibility before you buy replacements.
Conclusion
You can replace wheels on a rollator walker with the right parts, simple tools, and a careful approach. Start by matching wheel size and axle type. Follow the steps to remove the old wheel, inspect parts, and install the new wheel. Test brakes and function before regular use. From my hands-on repairs, routine checks and light maintenance prevent most problems. Try replacing one wheel first to build confidence, and reach out to a mobility specialist if something feels wrong. Share your questions or experiences below, or subscribe for more hands-on mobility guides.

Michael Reynolds is a senior contributor at RetirementGazette.com, where he focuses on helping readers navigate the journey toward a secure and fulfilling retirement. With over a decade of experience in personal finance, retirement planning, and lifestyle writing, Michael combines practical strategies with easy-to-understand guidance tailored for both pre-retirees and those already enjoying their golden years.