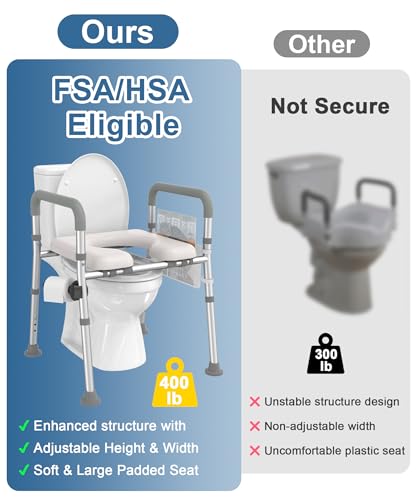
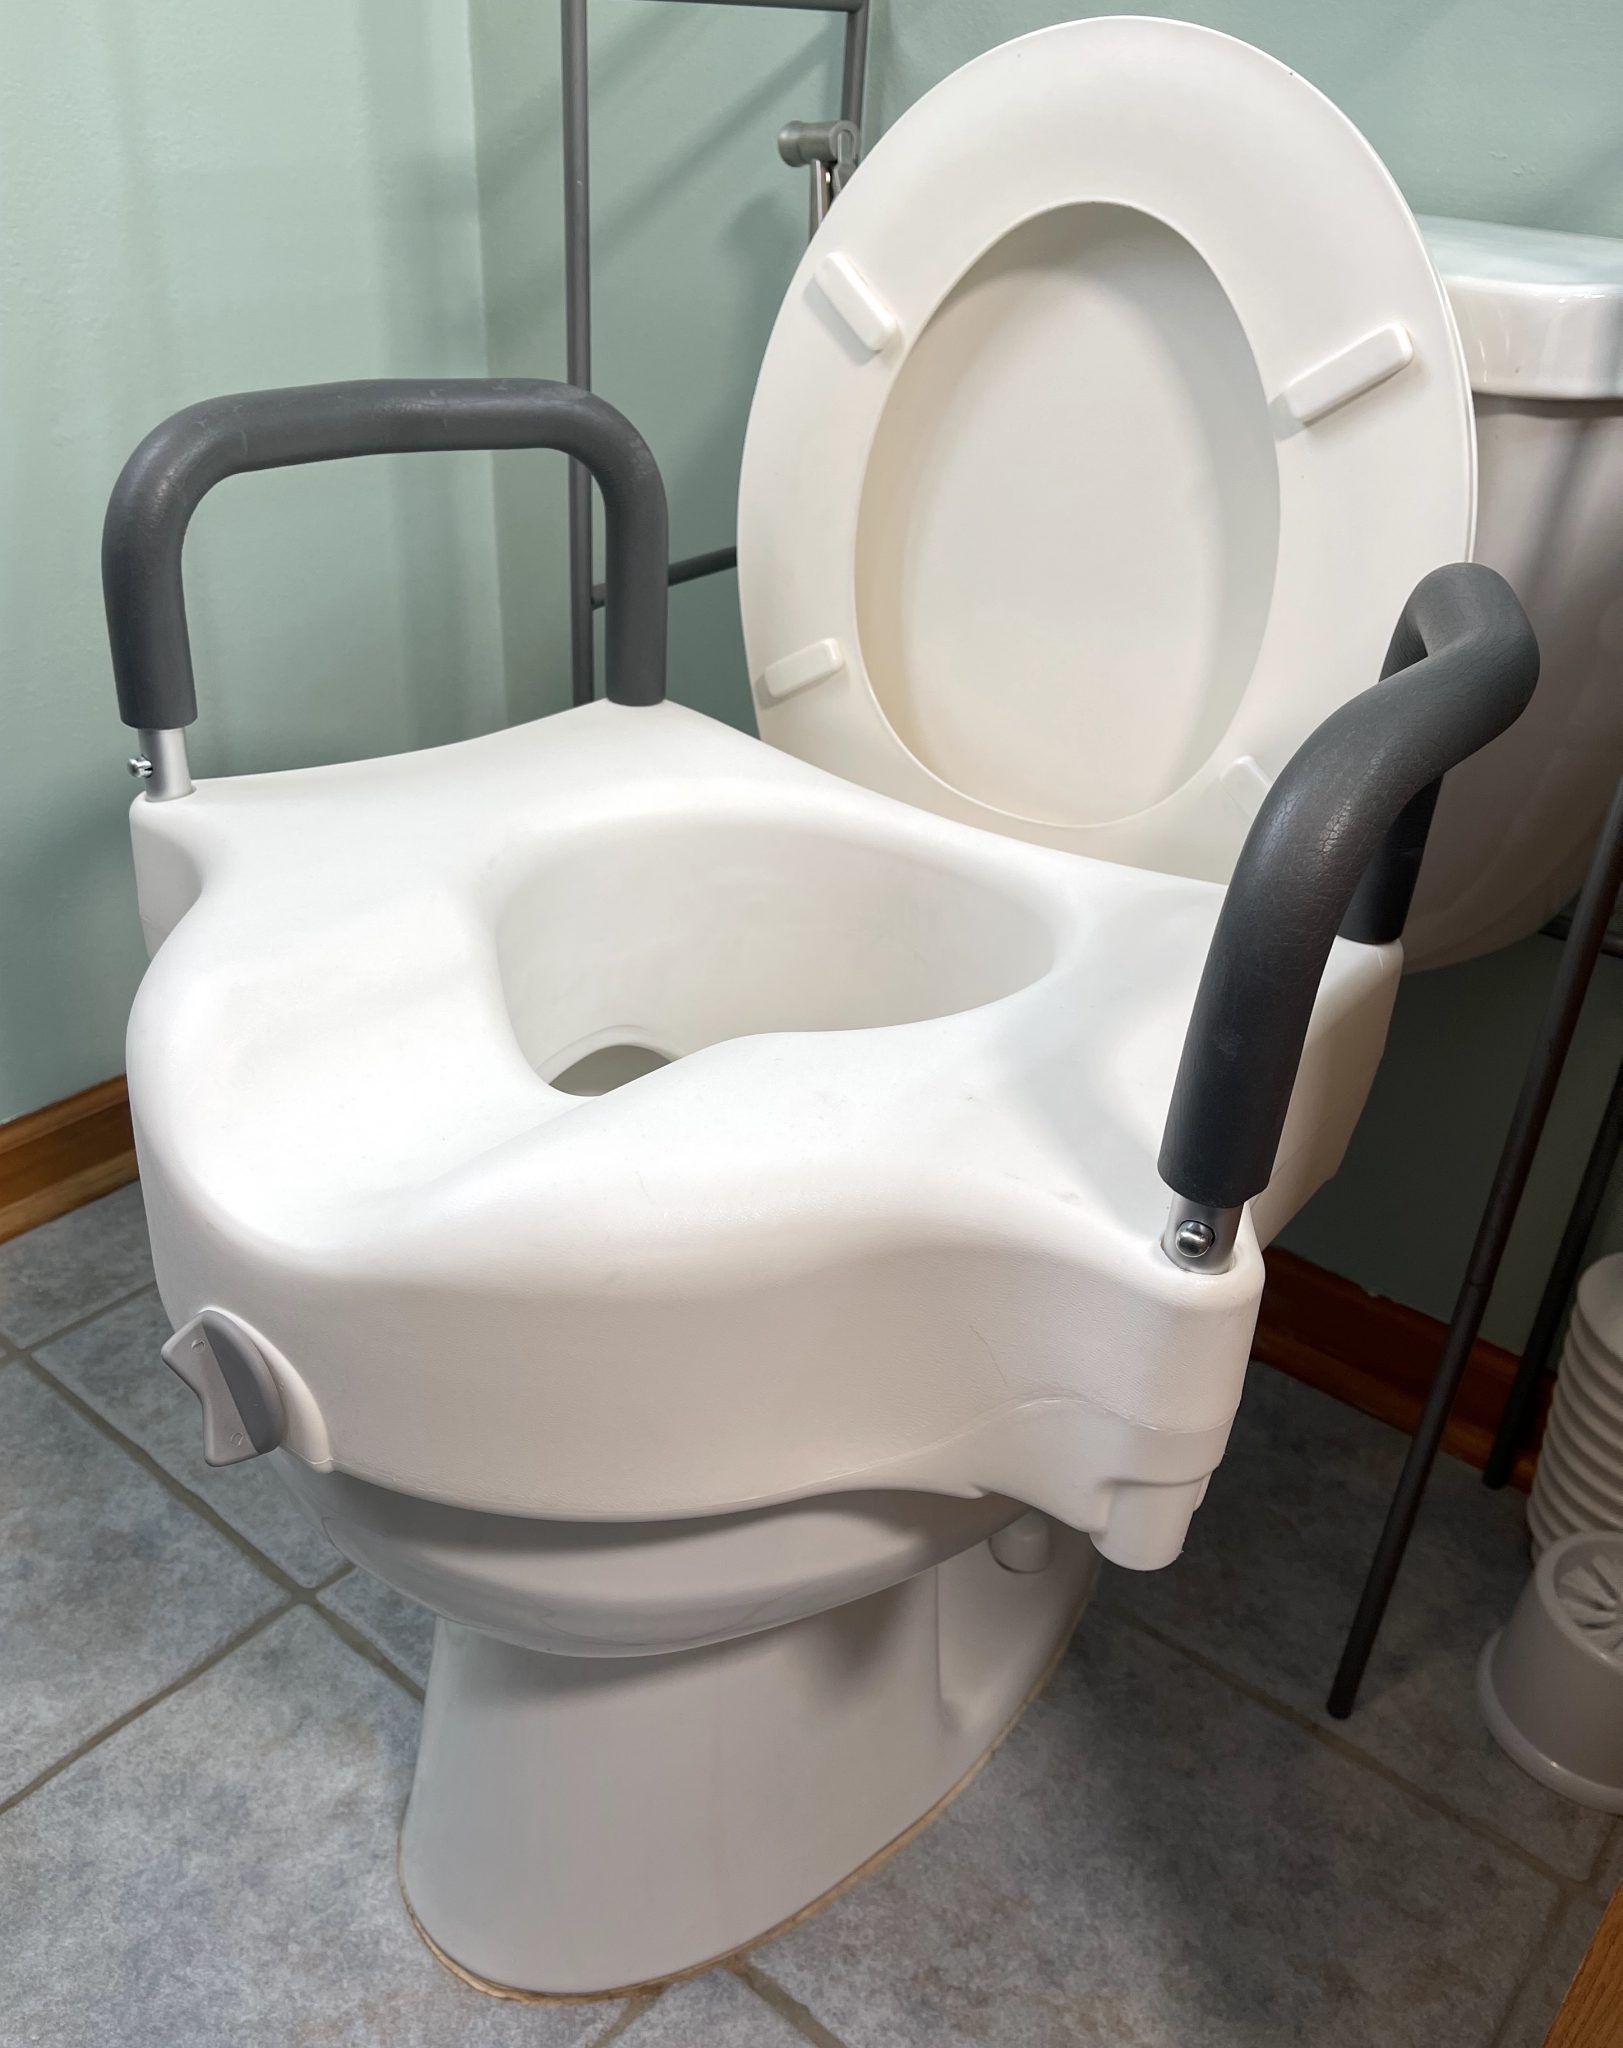
A raised toilet seat adds height to a standard toilet. This can make sitting down and standing up easier for people recovering from surgery, living with joint pain, or having limited leg strength. To install one, match the seat to your toilet bowl, remove the existing seat if the instructions require it, place the riser evenly on the bowl, tighten its fasteners, and test it for movement before use.
Introduction
In the United States, many raised toilet seats fit common residential toilets, but not every model fits every bowl. Round and elongated toilets have different shapes, and some risers work only with specific hinges, arms, or mounting systems.
A loose raised seat can shift during a transfer and cause a fall. The safest installation uses the manufacturer’s instructions, respects the seat’s weight limit, and includes a careful stability test. If the user cannot safely sit, stand, or transfer without help, a caregiver or occupational therapist should assess the bathroom setup.

What You Need Before Installing a Raised Toilet Seat
Gather the right equipment before you begin. Most raised toilet seats need only basic household items, but the exact tools depend on the model.
Supplies and tools
You may need:
- The raised toilet seat and all included hardware
- The manufacturer’s instruction manual
- An adjustable wrench, if the manual allows one
- A clean cloth or paper towels
- Mild soap and water
- Disposable gloves
- A flashlight for checking the mounting points
Do not use power tools unless the instructions specifically allow them. Plastic knobs and clamps can crack if you apply too much force.
Check the toilet shape
Measure or identify the bowl before installation:
- Round toilet: The bowl is shorter from front to back.
- Elongated toilet: The bowl is longer and usually has a more oval front.
- Specialty toilet: Some compact, skirted, wall-mounted, or unusual toilets need a specific riser.
A seat made for a round toilet may not sit correctly on an elongated bowl. The front edge may hang over, or the rear mounting points may fail to line up.
Check the seat capacity and condition
Find the maximum user weight in the manual or on the product label. Weight limits differ by model and may include the user, clothing, and any force created during sitting or standing.
Inspect the riser before installation. Do not use it if you find:
- A crack
- A bent bracket
- Missing hardware
- Damaged clamps
- A stripped knob
- A warped plastic surface
- A loose or broken arm
A raised toilet seat is not a step stool. Never stand on it, even if it feels firm.
Decide whether you need a frame or grab bars
A raised seat increases height, but it does not provide a handhold unless it has built-in arms. If the user needs support when sitting or standing, consider a toilet safety frame or properly installed grab bars.
Do not use a towel rack, sink, or toilet paper holder as a support. These fixtures may pull away from the wall or fail under body weight.

How to Install a Raised Toilet Seat
The exact method depends on the design. Most raised toilet seats use clamps, bolts, or a locking mechanism. Follow the steps below as a general guide, then confirm each step against the product manual.
1. Read the installation instructions
Check the manual before removing anything. Some risers replace the original toilet seat. Others fit between the bowl and the original seat. Some models require a specific hinge kit or an additional attachment bracket.
Do not assume that two seats with the same height install in the same way.
2. Remove the original toilet seat if required
Many clamp-on and bolt-on risers require the original seat and lid to be removed.
To remove a typical toilet seat:
- Lift the hinge covers at the back of the seat.
- Hold the nuts under the bowl.
- Turn the bolts counterclockwise.
- Lift the seat away from the toilet.
- Set the old seat and hardware aside.
Old bolts may be stiff because of rust or buildup. Use only the amount of force needed to remove them. If the porcelain begins to flex or crack, stop and seek help.
Some raised seats are designed to work with the original seat. If so, leave it in place unless the manual says otherwise.
3. Clean and dry the toilet bowl
Clean the top rim of the bowl with mild soap and water. Remove dust, residue, and moisture.
Dry the entire rim before placing the riser. A wet or dirty surface can reduce contact between the toilet and the seat. Avoid harsh cleaners unless the seat manufacturer says they are safe for the material.
4. Identify the front and back of the riser
Look for labels, arrows, hinge points, or a wider front edge. Place the front of the riser toward the front of the toilet bowl.
Some risers have a rear splash guard or a narrow back section. If you reverse the seat, the mounting points may not align and the seat may sit unevenly.
5. Place the riser squarely on the bowl
Set the raised seat on the toilet rim. Center it from side to side and align the rear with the toilet’s hinge area.
Check all around the seat:
- The riser should rest evenly on the bowl.
- No part should hang far over the edge.
- The front should not press against the inside of the bowl.
- The mounting hardware should face the correct direction.
- The seat should not rock before tightening.
If it does not sit flat, remove it and check the toilet shape and installation parts. Do not solve a fit problem by forcing the seat into position.
6. Attach and tighten the fasteners
Install the included clamps, bolts, brackets, or rear locking plate.
Tighten each fastener a little at a time. If the riser has two or more knobs, alternate between them so the pressure stays even.
Use hand-tight pressure unless the manual gives a torque value or permits a wrench. Over-tightening can damage plastic parts or porcelain. The goal is a firm fit, not maximum force.
7. Install the arms, if included
Some elevated seats have removable or folding armrests. Attach them only to the mounting points made for the arms.
Check that:
- Each arm is fully inserted.
- Retaining pins or screws are in place.
- Both arms sit at the same height.
- Folding arms lock in the intended position.
- The arms do not move excessively when pulled gently.
Armrests are designed for light support during a transfer only if the product instructions say they can be used that way. They are not a substitute for a wall-mounted grab bar unless they are specifically rated for the task.
8. Test the seat before use
Press down gently on the front, back, and both sides. The seat should remain centered and should not slide, tilt, or rock.
Next, place one hand on the seat and apply light downward pressure. Check the fasteners again. If the riser shifts, remove it and repeat the alignment and tightening steps.
A caregiver should perform the first test when possible. The user should not be the first person to test an unstable installation.

How Installation Changes by Raised Seat Type
Raised toilet seats share the same basic purpose, but their mounting systems differ. Identify the type before following generic steps.
Clamp-on raised toilet seat
A clamp-on model usually uses adjustable side or rear brackets. It often replaces the original toilet seat.
The clamps must contact the bowl firmly without pressing against a thin or uneven area. Tighten both sides evenly. If one clamp is tighter than the other, the riser may twist or rock.
Bolt-on toilet seat riser
A bolt-on riser uses the toilet’s seat mounting holes. It may include longer bolts, spacers, washers, or a special hinge plate.
Remove the original seat if required. Place the riser over the mounting holes, insert the supplied bolts, and tighten the hardware evenly. Do not reuse old bolts unless the manual specifically permits it.
Elevated seat with arms
A model with arms adds transfer support but also adds more parts that can loosen. Check the arm brackets each time you inspect the seat.
The arms should not block a wheelchair, walker, or caregiver during a transfer. Leave enough space for the user to approach the toilet safely.
Hinged raised toilet seat
A hinged riser may allow the seat to lift for cleaning. Confirm that the hinge moves freely and that the locking mechanism works before use.
Do not force the hinge. A hinge that binds may indicate incorrect alignment or a damaged part.
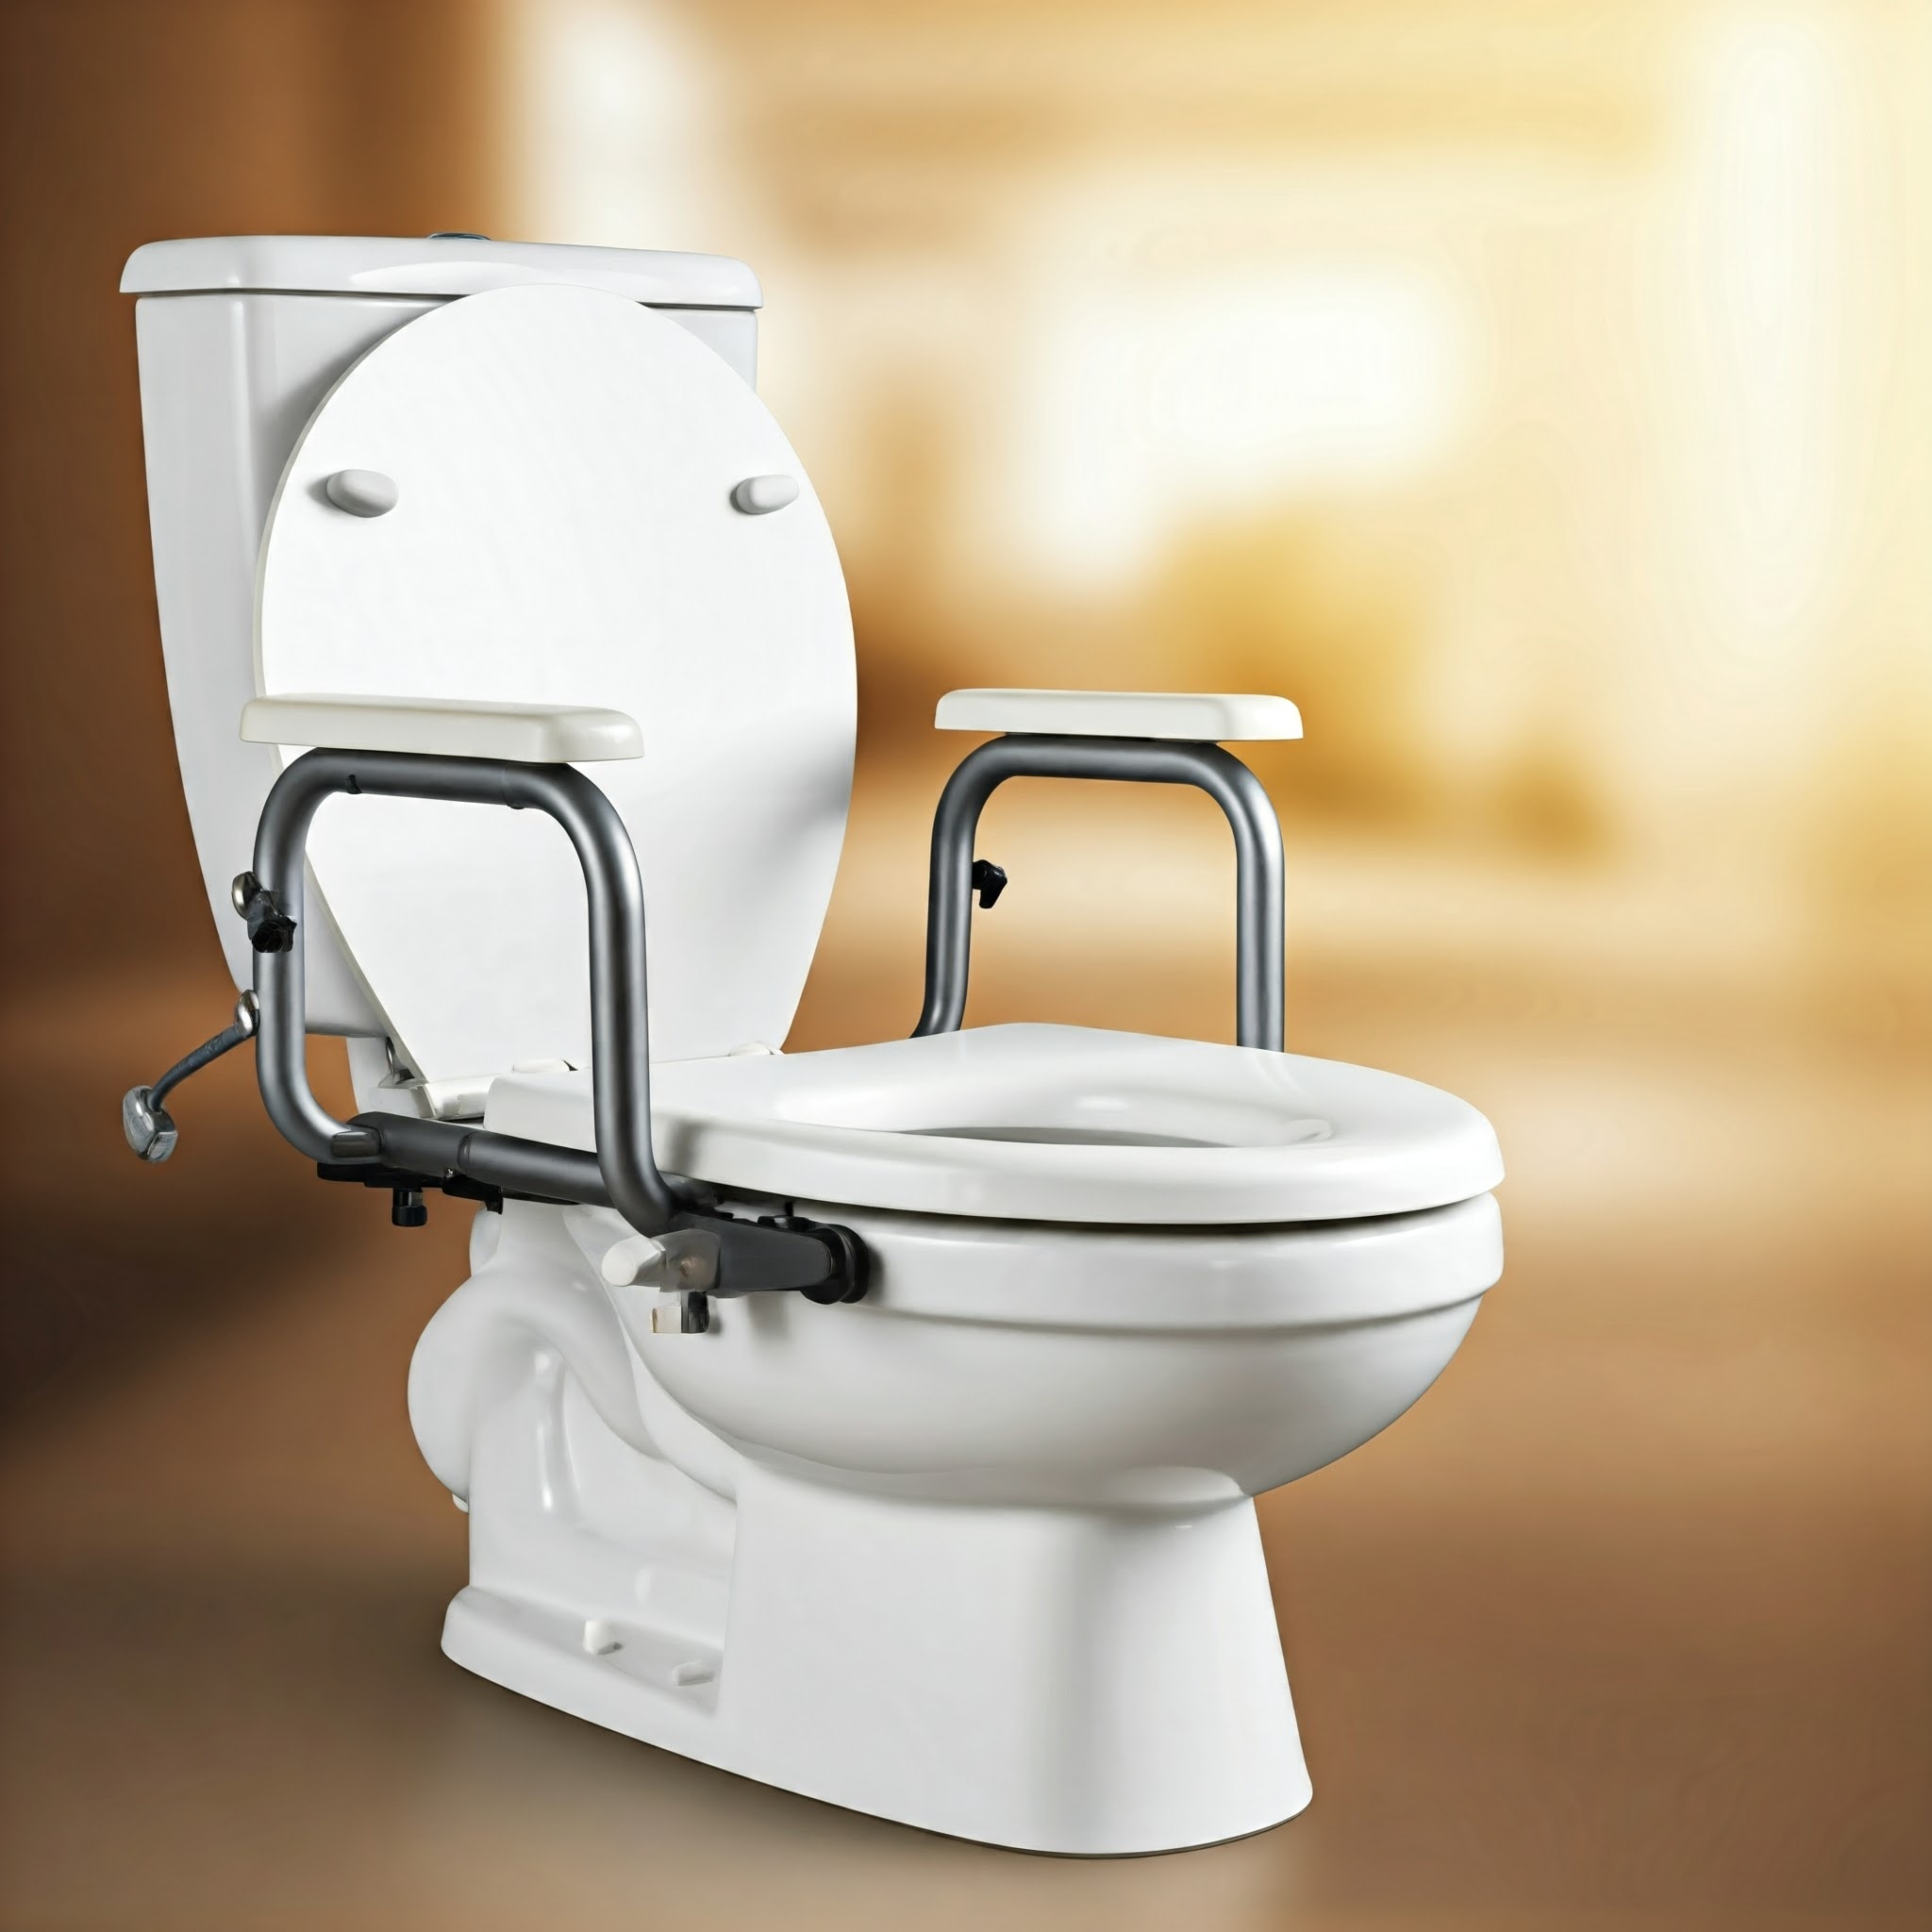
Toilet seat with a built-in frame
Some products combine a raised seat with a freestanding toilet safety frame. The frame legs must sit level on the floor, and the rubber feet must contact the floor fully.
A frame should not rock when light pressure is applied. Adjust the leg height according to the instructions, and keep the legs clear of rugs that can slide.

How to Check That the Raised Toilet Seat Is Safe
A seat is ready for use only when it stays stable during normal transfers. A visual check alone is not enough.
Use this short inspection:
- Look for gaps between the riser and the toilet rim.
- Push lightly on the front and each side.
- Check that the mounting knobs or bolts remain tight.
- Pull gently on each arm, if included.
- Confirm that the seat does not slide forward or sideways.
- Make sure the lid, if retained, opens and closes without hitting the wall or tank.
- Confirm that the user’s feet can reach the floor or a stable footrest.
The seat should not move when the user sits down slowly. If the user drops heavily onto the seat, the impact may exceed the load created by a normal transfer.
For someone with poor balance, weakness, dizziness, or a recent hip or knee operation, installation is only one part of bathroom safety. A physical therapist or occupational therapist can recommend the right seat height, transfer method, walker position, and support equipment.
Common Installation Problems and Fixes
Most problems come from an incorrect fit, uneven tightening, or missing hardware. Stop use until the problem is corrected.
| Problem | Likely cause | What to do |
|---|---|---|
| Seat rocks from side to side | Uneven clamps or incorrect alignment | Remove it, center it again, and tighten each fastener evenly |
| Seat slides forward | Loose hardware or wrong bowl shape | Check the manual, verify the round or elongated fit, and retighten |
| One side sits higher | Debris, warped riser, or uneven rim | Clean and inspect both surfaces; replace damaged parts |
| Bolts do not line up | Wrong mounting plate or toilet-seat style | Use the included hardware and confirm compatibility |
| Arms wobble | Loose arm hardware or incomplete assembly | Reinstall the arms and secure the pins or screws |
| Seat feels too high | Riser height does not suit the user | Consider a lower model or request a professional assessment |
| Toilet lid will not close | The riser requires the original lid to be removed | Follow the product instructions; do not force the lid |
| Cracks appear after tightening | Fasteners were overtightened or the part was damaged | Stop use and replace the damaged component |
If the seat remains unstable after correct installation, do not add tape, wood, rubber scraps, or homemade wedges. These changes can hide the problem and create an unpredictable surface. Contact the manufacturer or replace the riser with a model made for that toilet.

Cleaning and Maintenance
Clean the raised toilet seat according to the product instructions. In general, use mild soap, warm water, and a soft cloth. Rinse away cleaner residue and dry the seat and mounting points.
Avoid abrasive pads, solvents, and strong chemicals unless the manufacturer confirms that they are safe. These products may roughen plastic, weaken rubber parts, or damage labels that show weight limits.
Inspect the seat regularly, especially when it is used every day. Check for:
- Loose knobs or bolts
- Worn rubber pads
- Cracks or discoloration
- Rust on metal parts
- Movement during a light pressure test
- Damaged armrests or locking pins
Replace the riser if it is damaged, no longer fits securely, or has reached the replacement interval listed by the manufacturer. Do not share a seat without cleaning and disinfecting it according to the product label and the needs of the household.
Safety Limits: When to Get Professional Help
A raised toilet seat may help with limited mobility, but it cannot correct every transfer risk. Seek help from a health professional or durable medical equipment provider when:
- The user has fallen in the bathroom.
- The user cannot stand from the toilet safely.
- The user has severe weakness or poor balance.
- The user is recovering from hip, knee, or back surgery.
- The bathroom has no clear path for a walker or wheelchair.
- The user needs to pull hard on the arms to stand.
- The toilet or floor is damaged or unstable.
- The seat does not fit the toilet securely.
In the United States, a licensed occupational therapist, physical therapist, nurse, or clinician can help assess bathroom equipment. The Centers for Disease Control and Prevention also provides fall-prevention information through its STEADI initiative.
Never use a loose seat, a cracked seat, or a seat above its rated capacity. When in doubt, stop using it until the fit and hardware have been checked.

Frequently Asked Questions
Should I remove the original toilet seat before installing a raised toilet seat?
Often, yes. Many clamp-on and bolt-on models are designed to replace the original seat. Other products fit under the existing seat. Follow the instructions for your exact model rather than using a general rule.
How high should a raised toilet seat be?
The correct height lets the user sit and stand without excessive bending while keeping both feet stable on the floor. A taller seat is not always safer. A physical therapist or occupational therapist can help choose the height after considering the user’s leg length, strength, balance, and transfer method.
Can I install a raised toilet seat on an elongated toilet?
Yes, if the product is made for an elongated bowl. Check the packaging and manual for the bowl shape. A round model may not rest correctly on an elongated toilet, even if the mounting holes appear similar.
Can I use a raised toilet seat without grab bars?
Some people can use one safely without grab bars, but the seat alone does not provide a stable handhold. If the user needs support to sit or stand, a properly installed safety frame or grab bar may be needed.
How often should I check the seat?
Check it before each use if it is new, recently moved, or used by someone at high risk of falling. For regular use, inspect the fasteners, pads, arms, and surface at least weekly and after cleaning or repositioning.
Conclusion
To install a raised toilet seat safely, confirm the toilet shape and weight limit, follow the model’s instructions, clean and dry the bowl rim, center the riser, tighten the fasteners evenly, and test for movement before use.
A secure fit is essential. If the seat rocks, slides, cracks, or does not match the toilet, stop using it and correct the problem or choose a compatible model. For users with balance problems, recent surgery, or repeated falls, professional bathroom-safety advice can prevent a simple equipment change from becoming a new hazard.

Michael Reynolds is a senior contributor at RetirementGazette.com, where he focuses on helping readers navigate the journey toward a secure and fulfilling retirement. With over a decade of experience in personal finance, retirement planning, and lifestyle writing, Michael combines practical strategies with easy-to-understand guidance tailored for both pre-retirees and those already enjoying their golden years.